Today I had company for about half my work time. My dog, Max, came up to bed early so when I came in to do my work, he slept in peace while I typed away at my story.
I managed to fix up my outline and then use the parts needed in the synopsis of each chapter and scene. All the chapters and scenes are now organized which is a great relief.
At this point it’s 27 chapters, but I have a feeling it will end up being longer than that. If anything has taught me from my first rough manuscript, it’s that chapter stories I think won’t be too long, end up spanning over two to three chapters. With this understanding though, it allows me to be flexible with both my outline and story when needed. A great lesson to learn for all writers.
So far things are going smoothly. I’ve broken up what I’m going to do and now that a lot of the prep work seems to be complete, it will be onto to writing the rest of the rough draft. Then it will be a lot editing. Then further read throughs. Then editing. Then get a friend or two who have been published to read it and give me their advice on it. Then more editing. And then it’ll be off to the publishers! Hopefully I’ll have some interest in the novel by that point. So I guess I should throw networking in that list of things to do. Lots and lots of networking and creating contacts. Oh yeah and entering short story contests….
…Okay there’s a lot of work to still be done, but at least I know what I have to do. I will get there. I will do well and do my best.
Writing at this point is done for the week, so I have the weekend off. I will be back at it again next week on my designated day, unless of course I get an urge to write, then you’ll be seeing another post here.
For filming and photographing, there’s not much to update on. I haven’t had a chance to get out and do anything yet. I’m hoping to have something on my next post though.
This was the first day of the start of my new plan (my new plan involves writing for set days while maintaining the jobs I currently have and trying to find another one in a more specialized field, and when I have a chance, improve my filming and photographing skills).
I went through the old chapters of my previous manuscripts for book 1, 2, and 3, and pulled a couple specific stories from it that I think are worth getting into for the new version. They are important for a number of reasons but I won’t get into that right now.
I looked over the outline, and despite how detailed it is, it’s not broken down quite enough to distribute into individual chapters yet. To do this, I would need several more hours in the day, and considering I spent almost the whole day getting over a migraine and wasn’t able to sit down until a couple of hours ago to do work, it is not an undertaking I can perform right now. It will have to wait until the next work day. I also completed editing a chapter which also took longer than I thought it would.
So the writing is going slowly but smoothly so far.
For video and photography projects I don’t have much to share. I haven’t had a chance to really get out and take any photos. I am on instagram, but all those photos are taken with my iPad and they’re of my dogs so I’m not sure how many people are really interested in that. Maybe when I have more variety I’ll post a link to my instagram page.
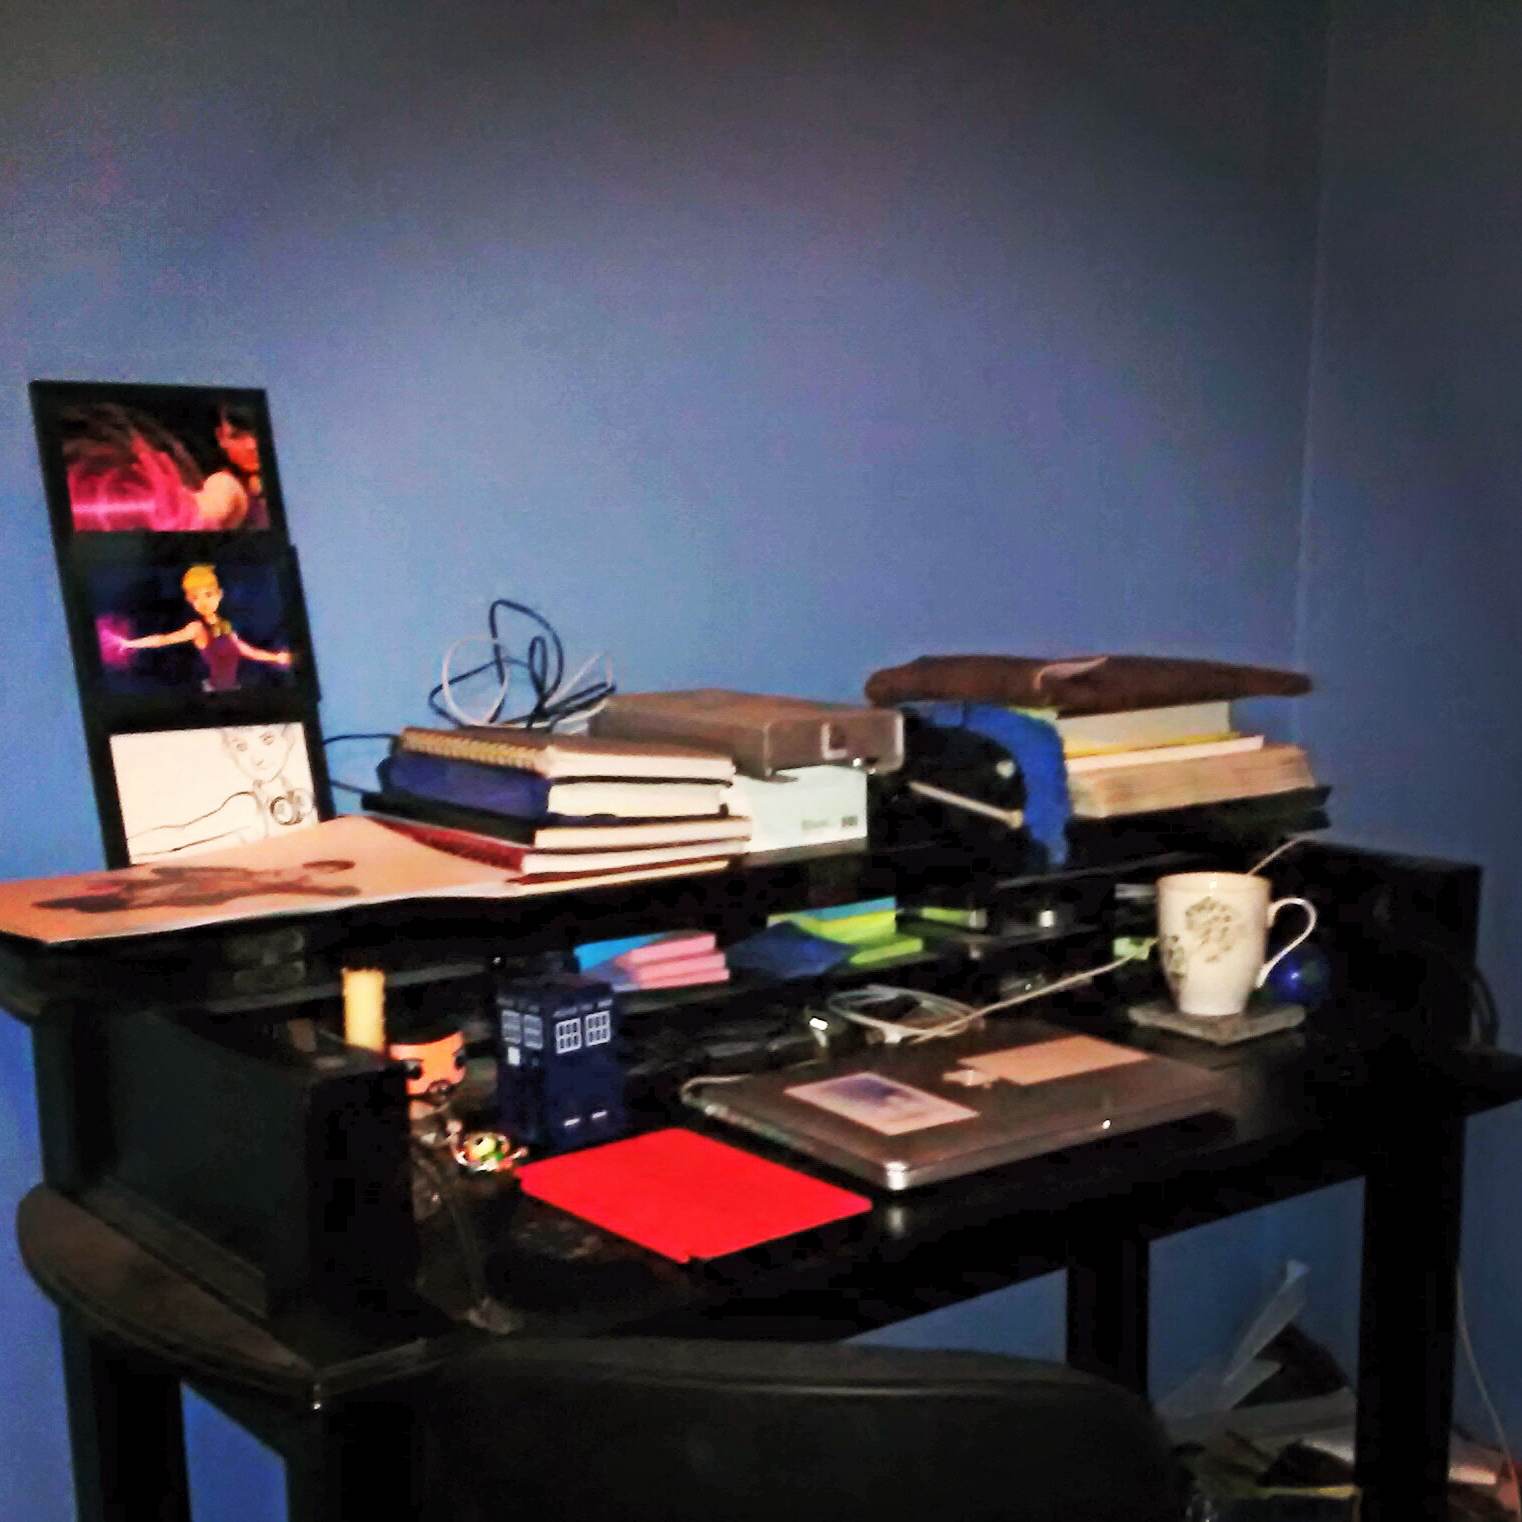
I think that’s all for now. In the meantime here’s a photo taken on my cell phone (not good quality at all) of my current work space.
I apologize for my lack of posting lately; prior responsibilities, my part time job, and family priorities have gotten in the way of me being able to get some work done and keep updating.
I have also been going through a bit of a shift lately. In the last few weeks, I have been pushing myself to do work but having no real motivation to do it. I won’t get into all the details, but as of today I have come to a few realizations about the direction I wish my life and career to go in. My path will be a drastically difficult one and it will involve some turning around of my priorities.
This in mind, I haven’t decided how to start it or if my real passion will ever be possible. There is some planning that will need to be done, and sorting out what to do for money in the meantime. It is a difficult and complicated step I’m taking and therefore my posting may be lacking for the next little bit. My site may also be going through some drastic changes which I apologize for in advance. You will still be able to see my videos and photos, but there may be less instructional foundation being posted.
I thank those of you who are following my blog for the patience. Hopefully you will all understand how difficult some transitions can be and that a bit of time is all I need to sort things out.
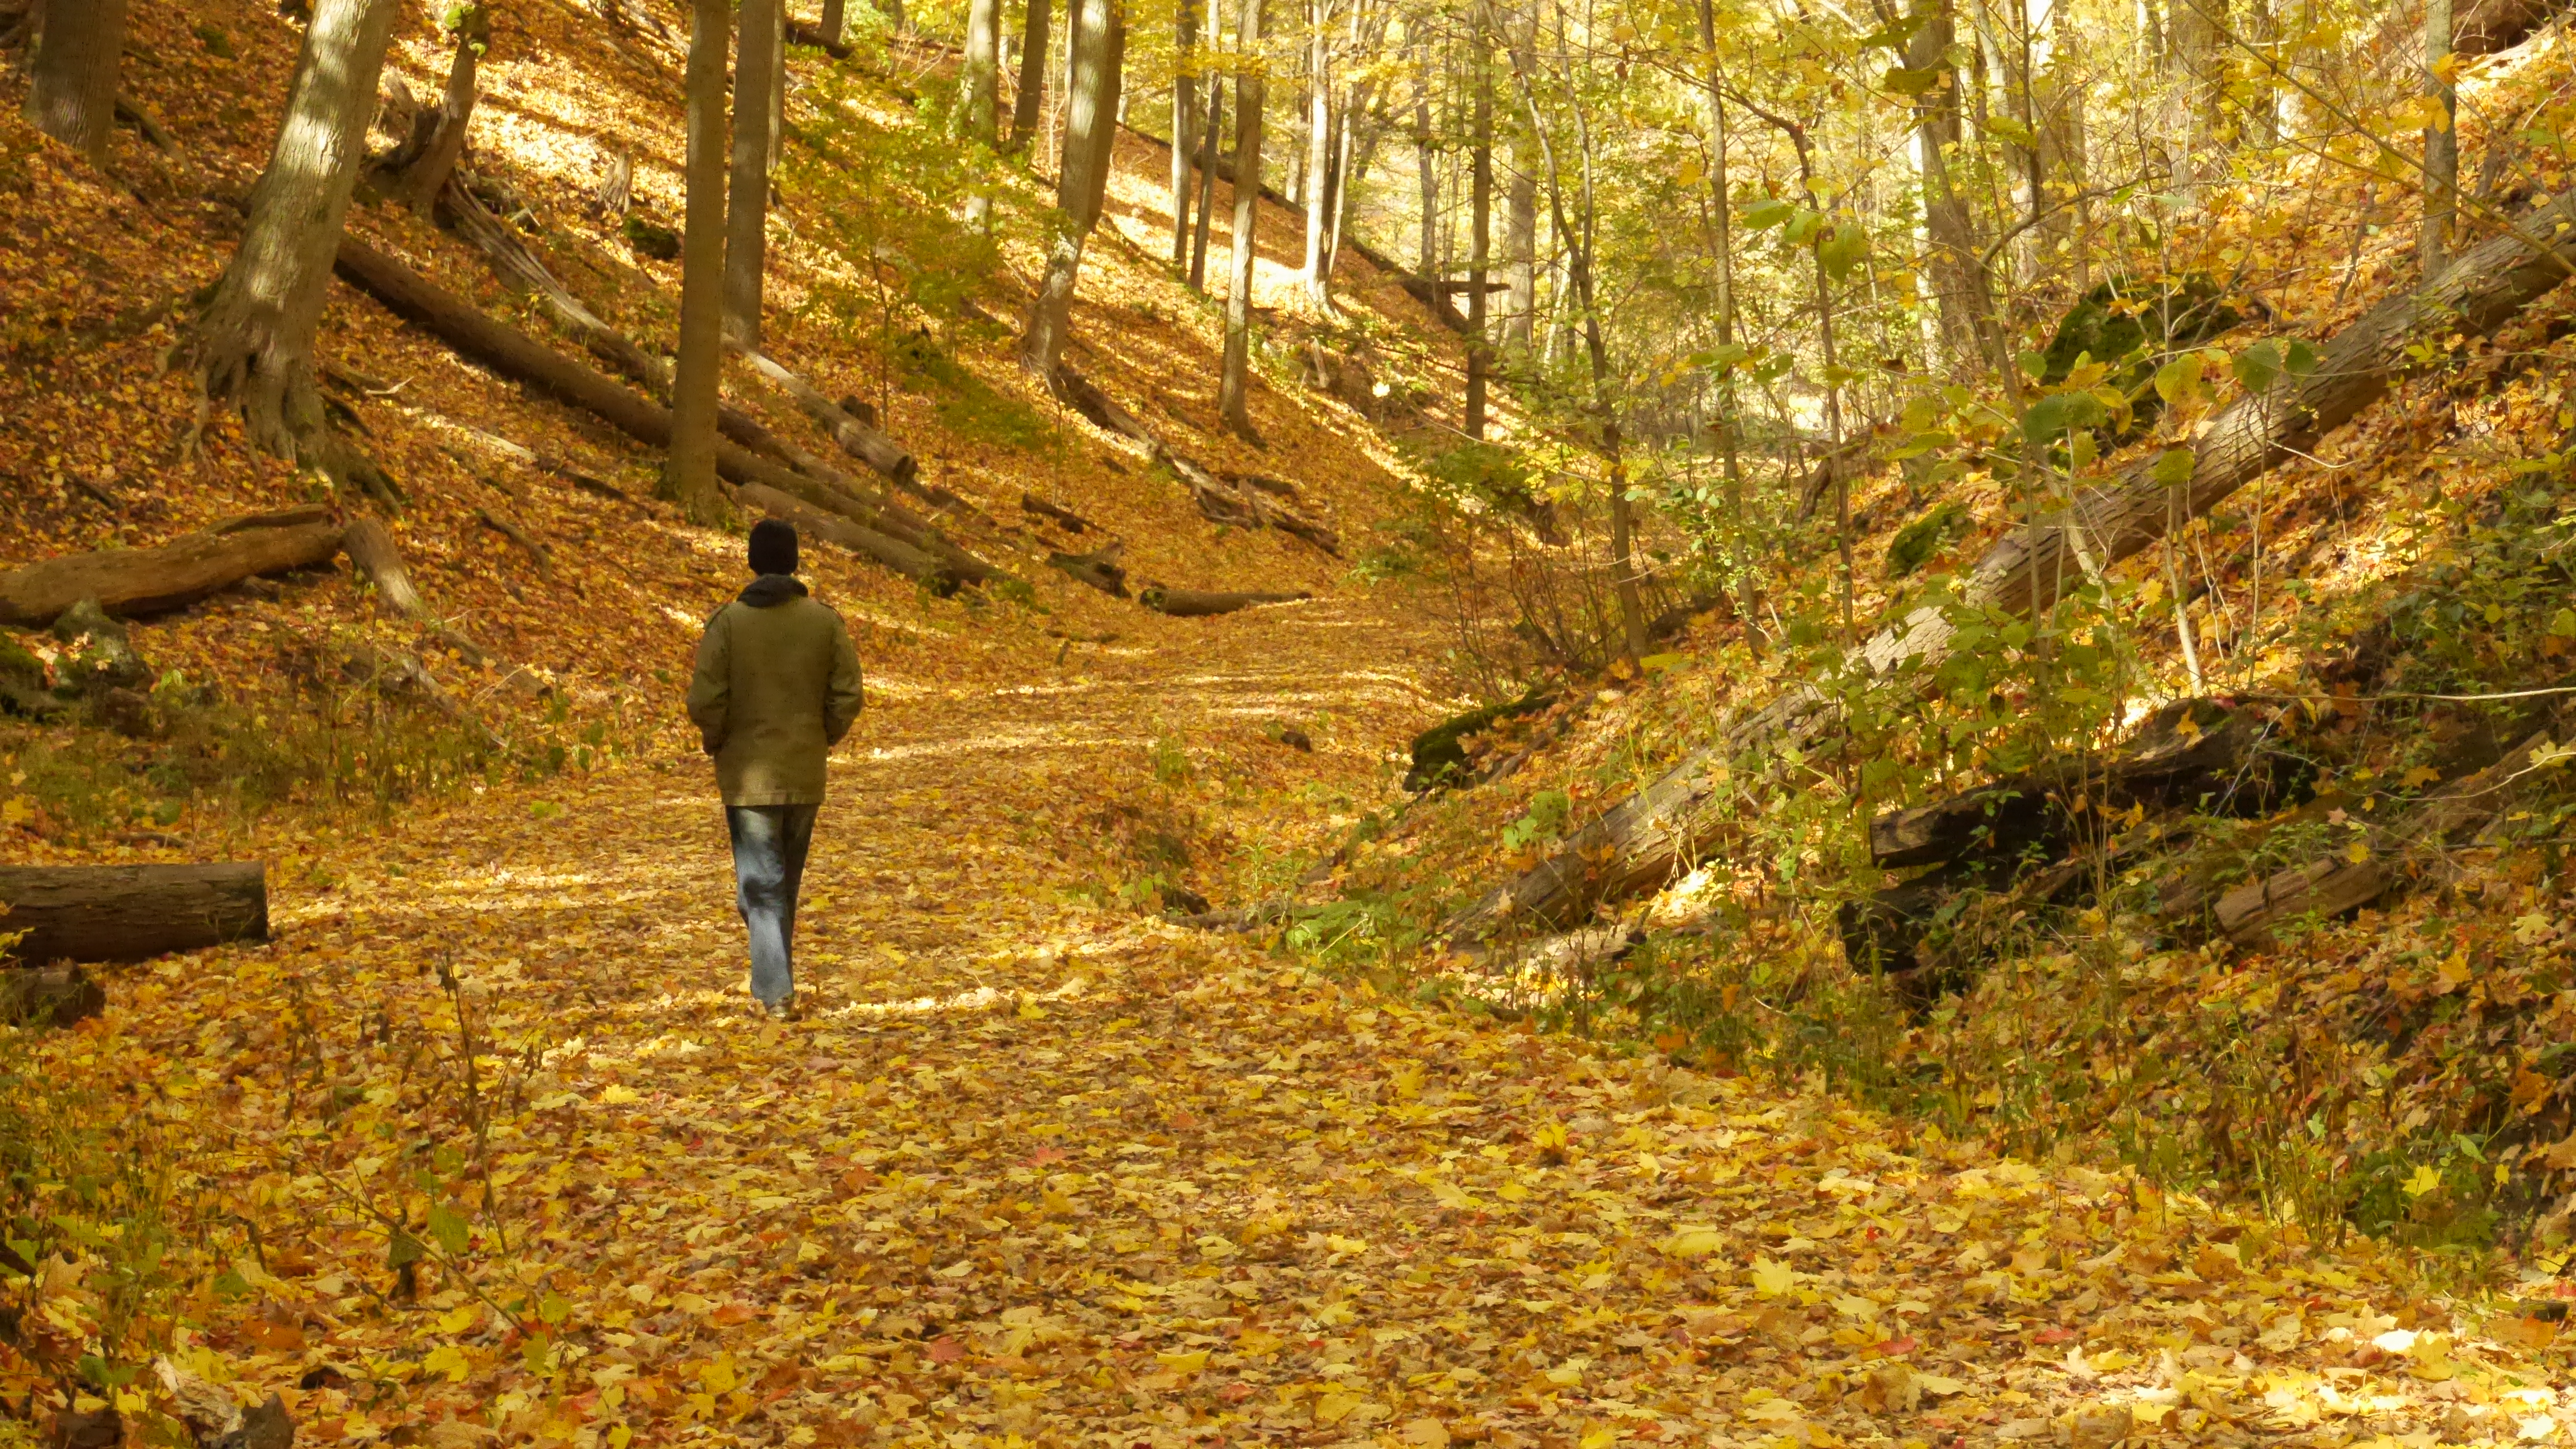
My boyfriend and I celebrated our anniversary by going on a hike. Of course we still have lots more to do, but it was the first thing on our list to do (if you exclude making pancakes).
I thought at first, “I could take some great videos!” but quickly realized that taking random videos of the trees and nature with no definitive idea of what I was going to do with it, didn’t seem like the best idea (I admit I did this when testing out my camera and took videos of waterfalls – outside of footage to add to a demo reel, I didn’t have much else I could do with it at the time). So I took photos instead.
My photography skills could use some work so I played around with my camera taking as many photos as I could in different ways, and then posted them to this site. Of course there’s still so many photos that I could post, but these are currently my favourite, and the better ones of the bunch.
Here’s a teaser:
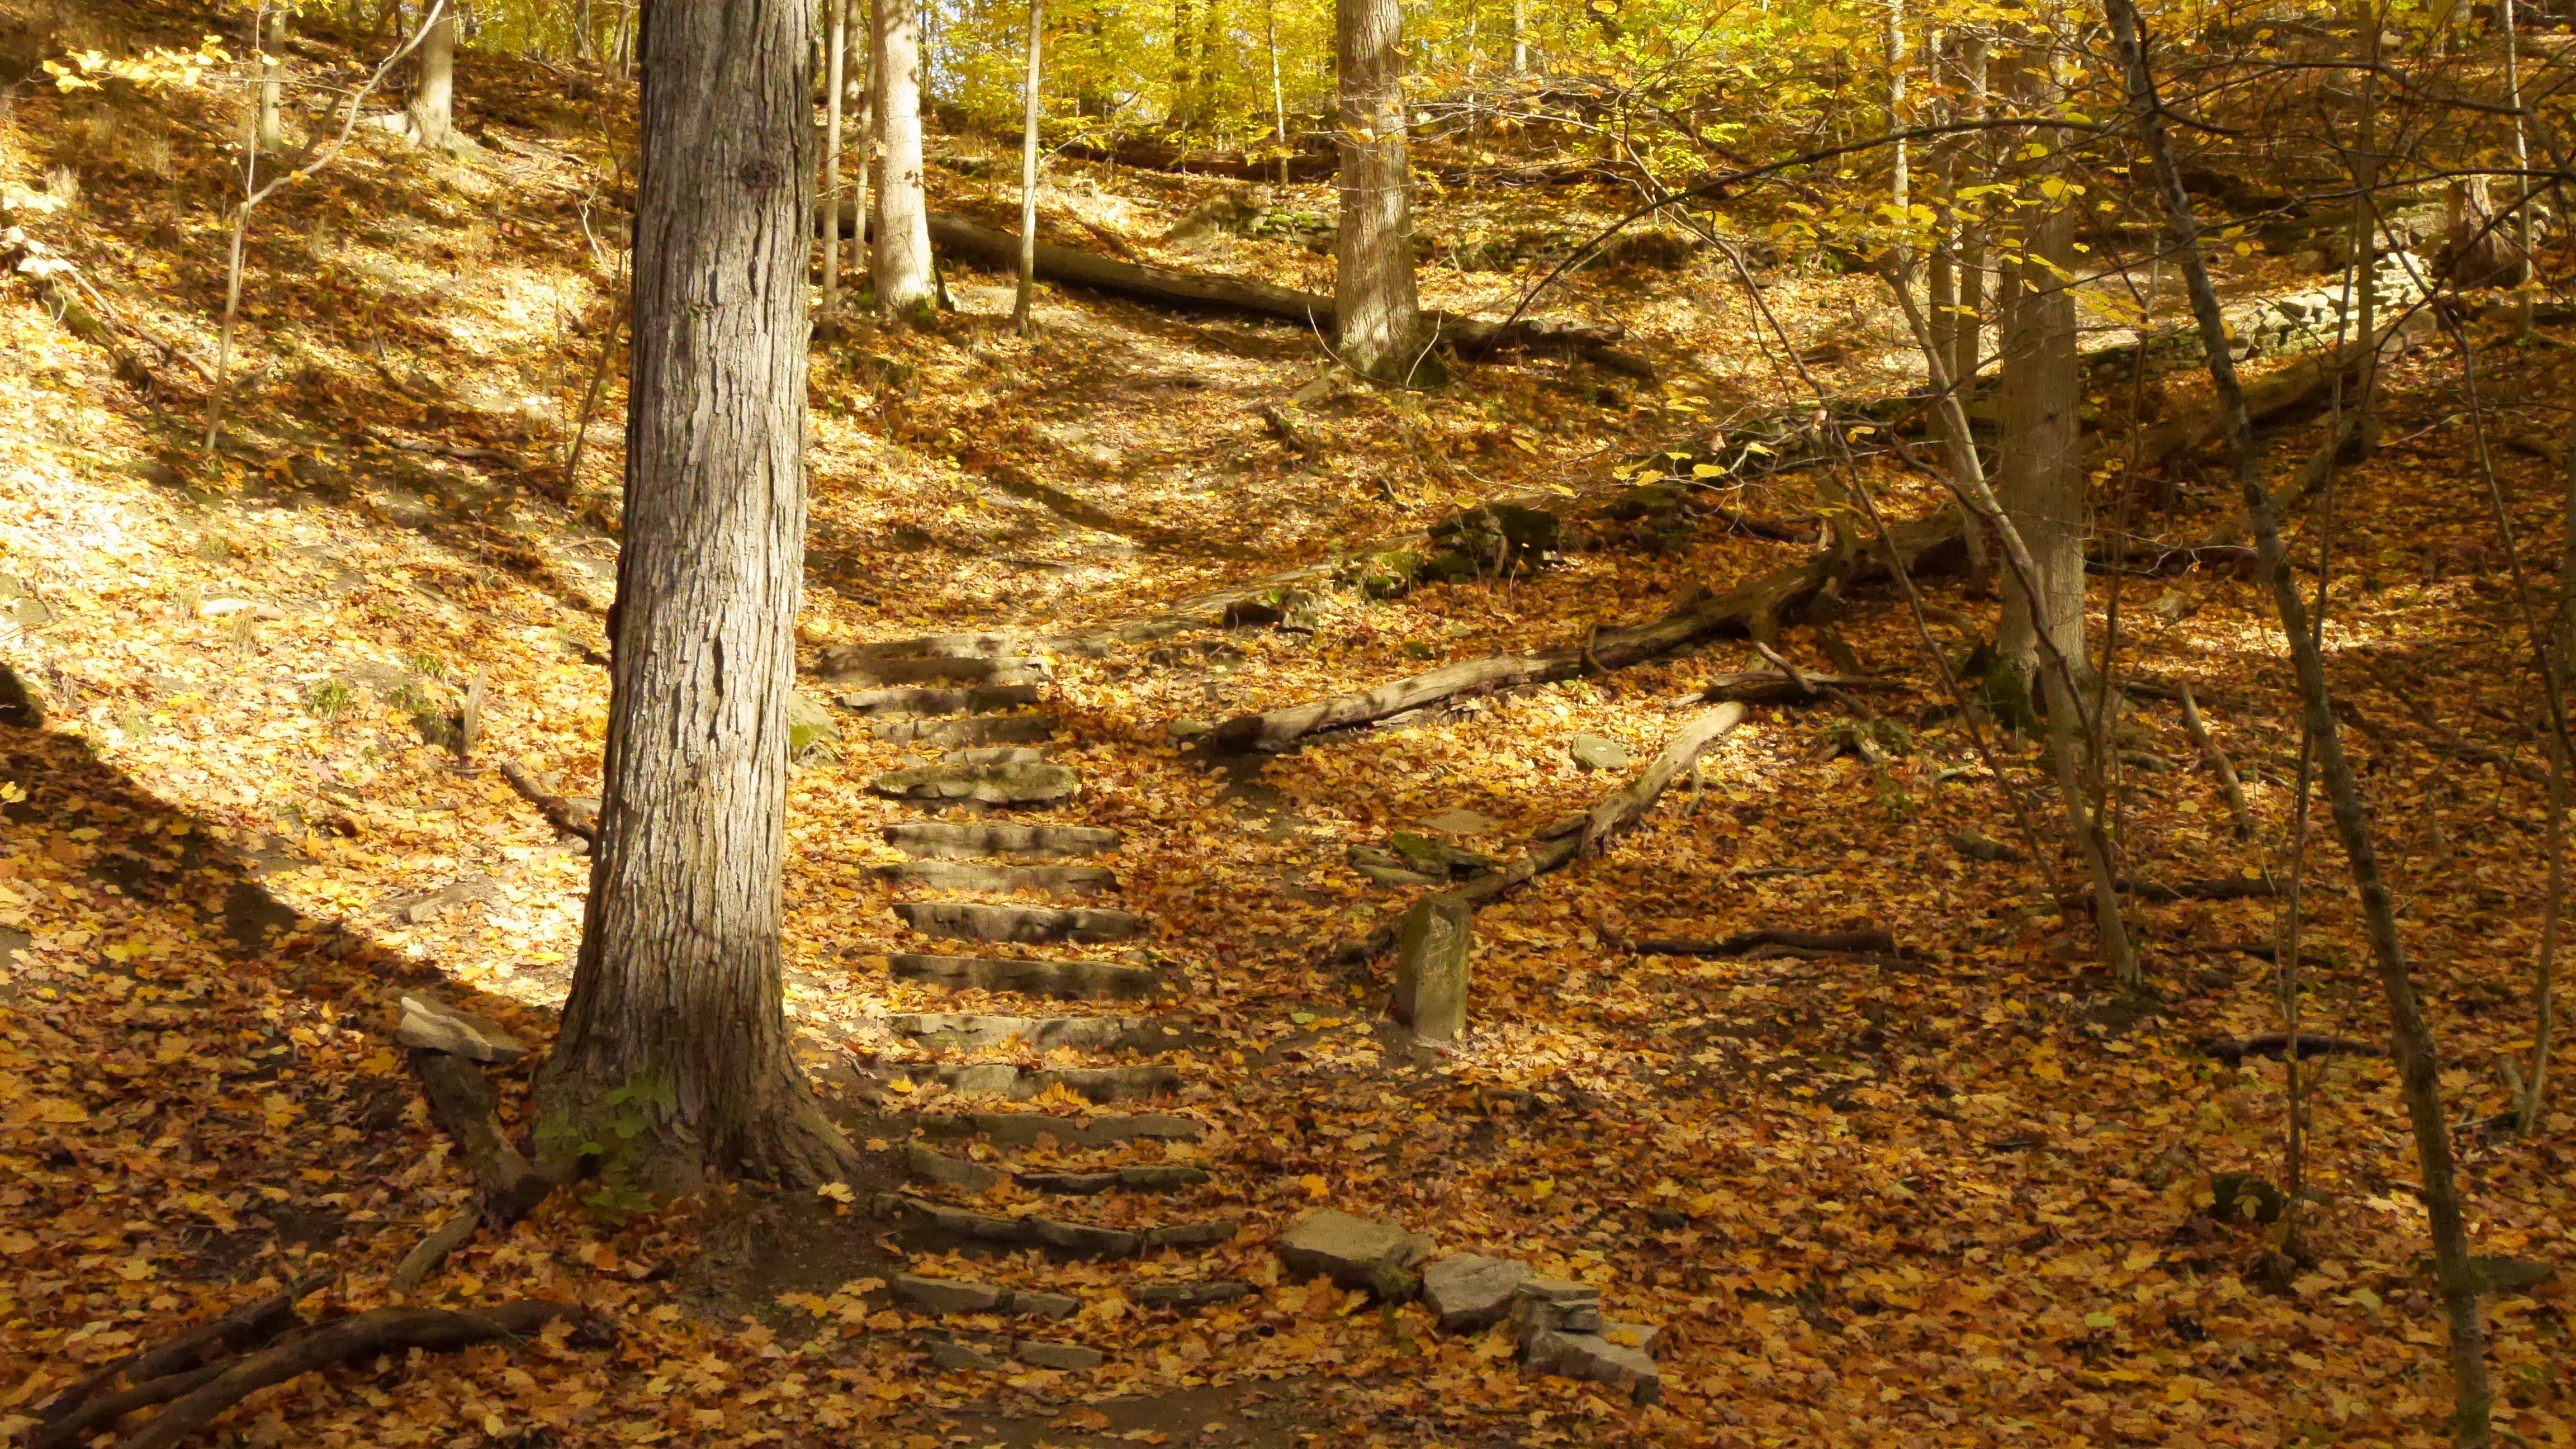
The path up the side of the hill.
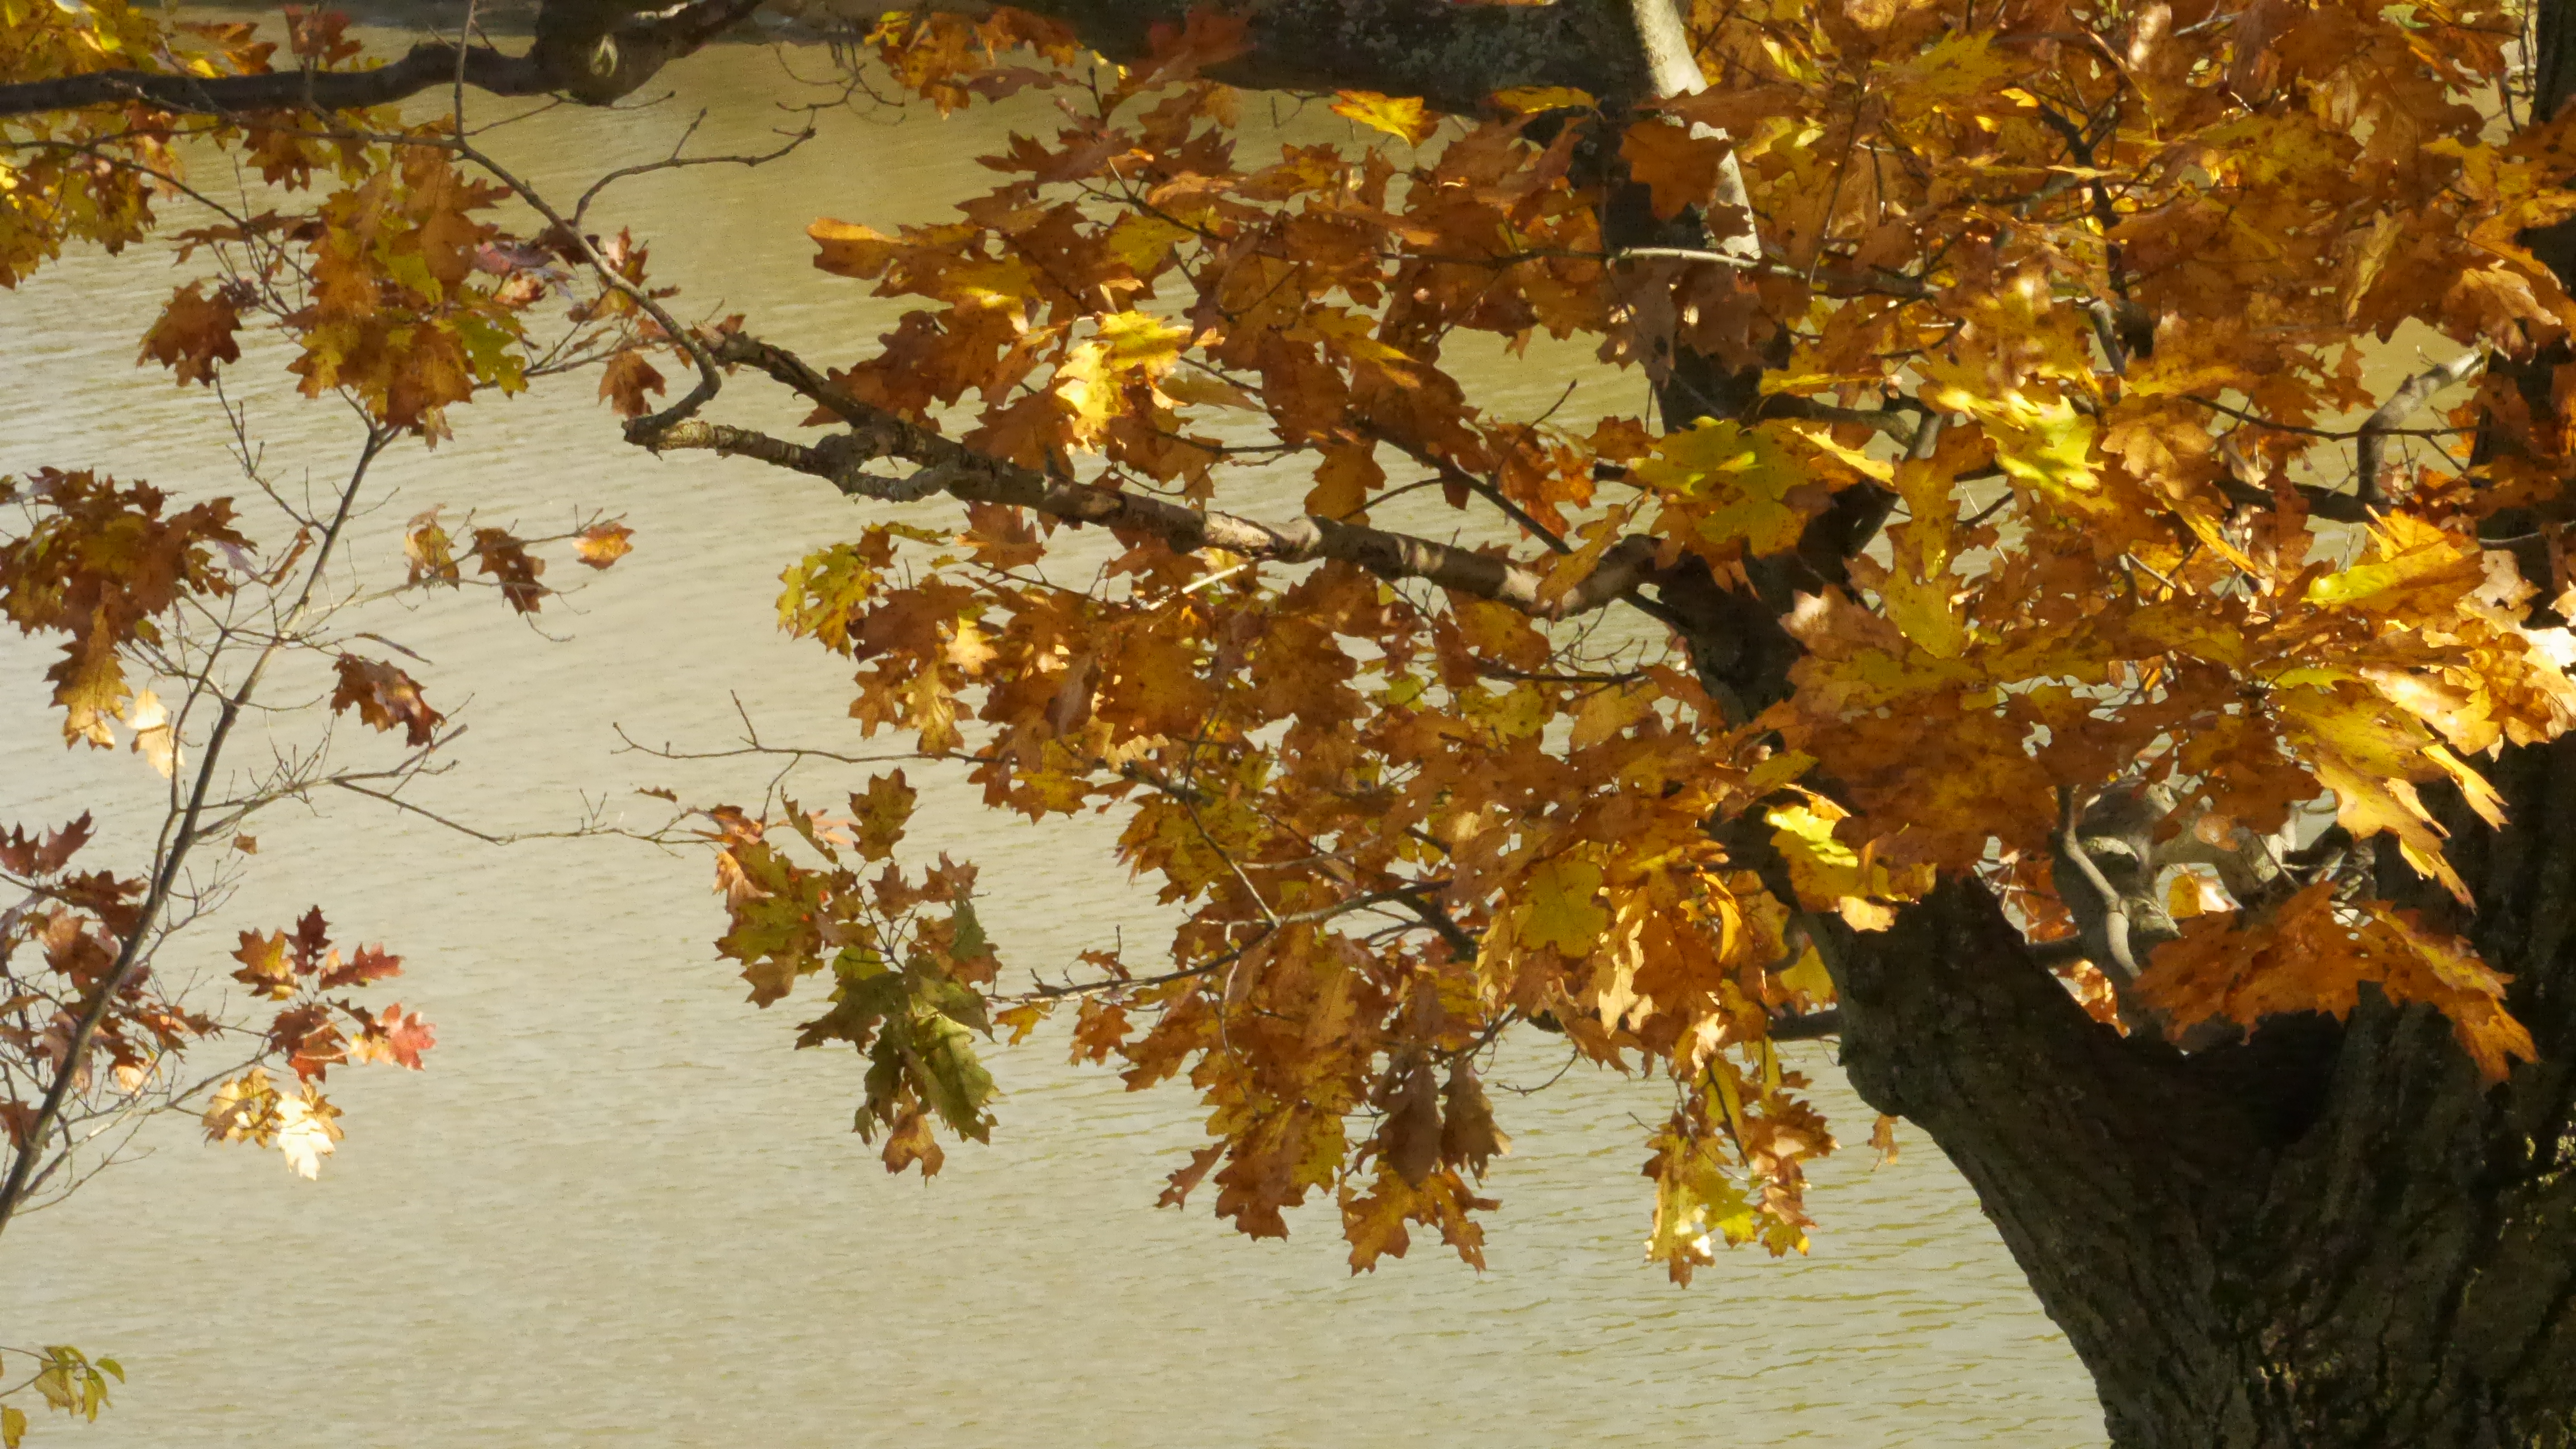
The colours of fall.
The main path completely covered in leaves.
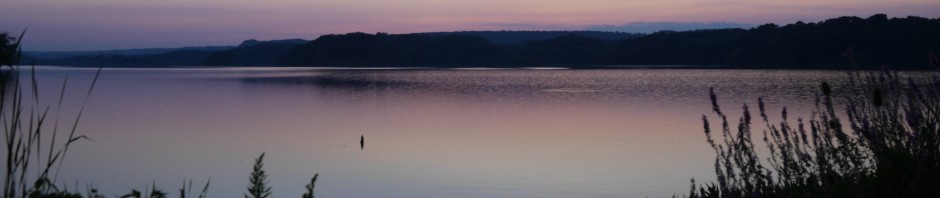
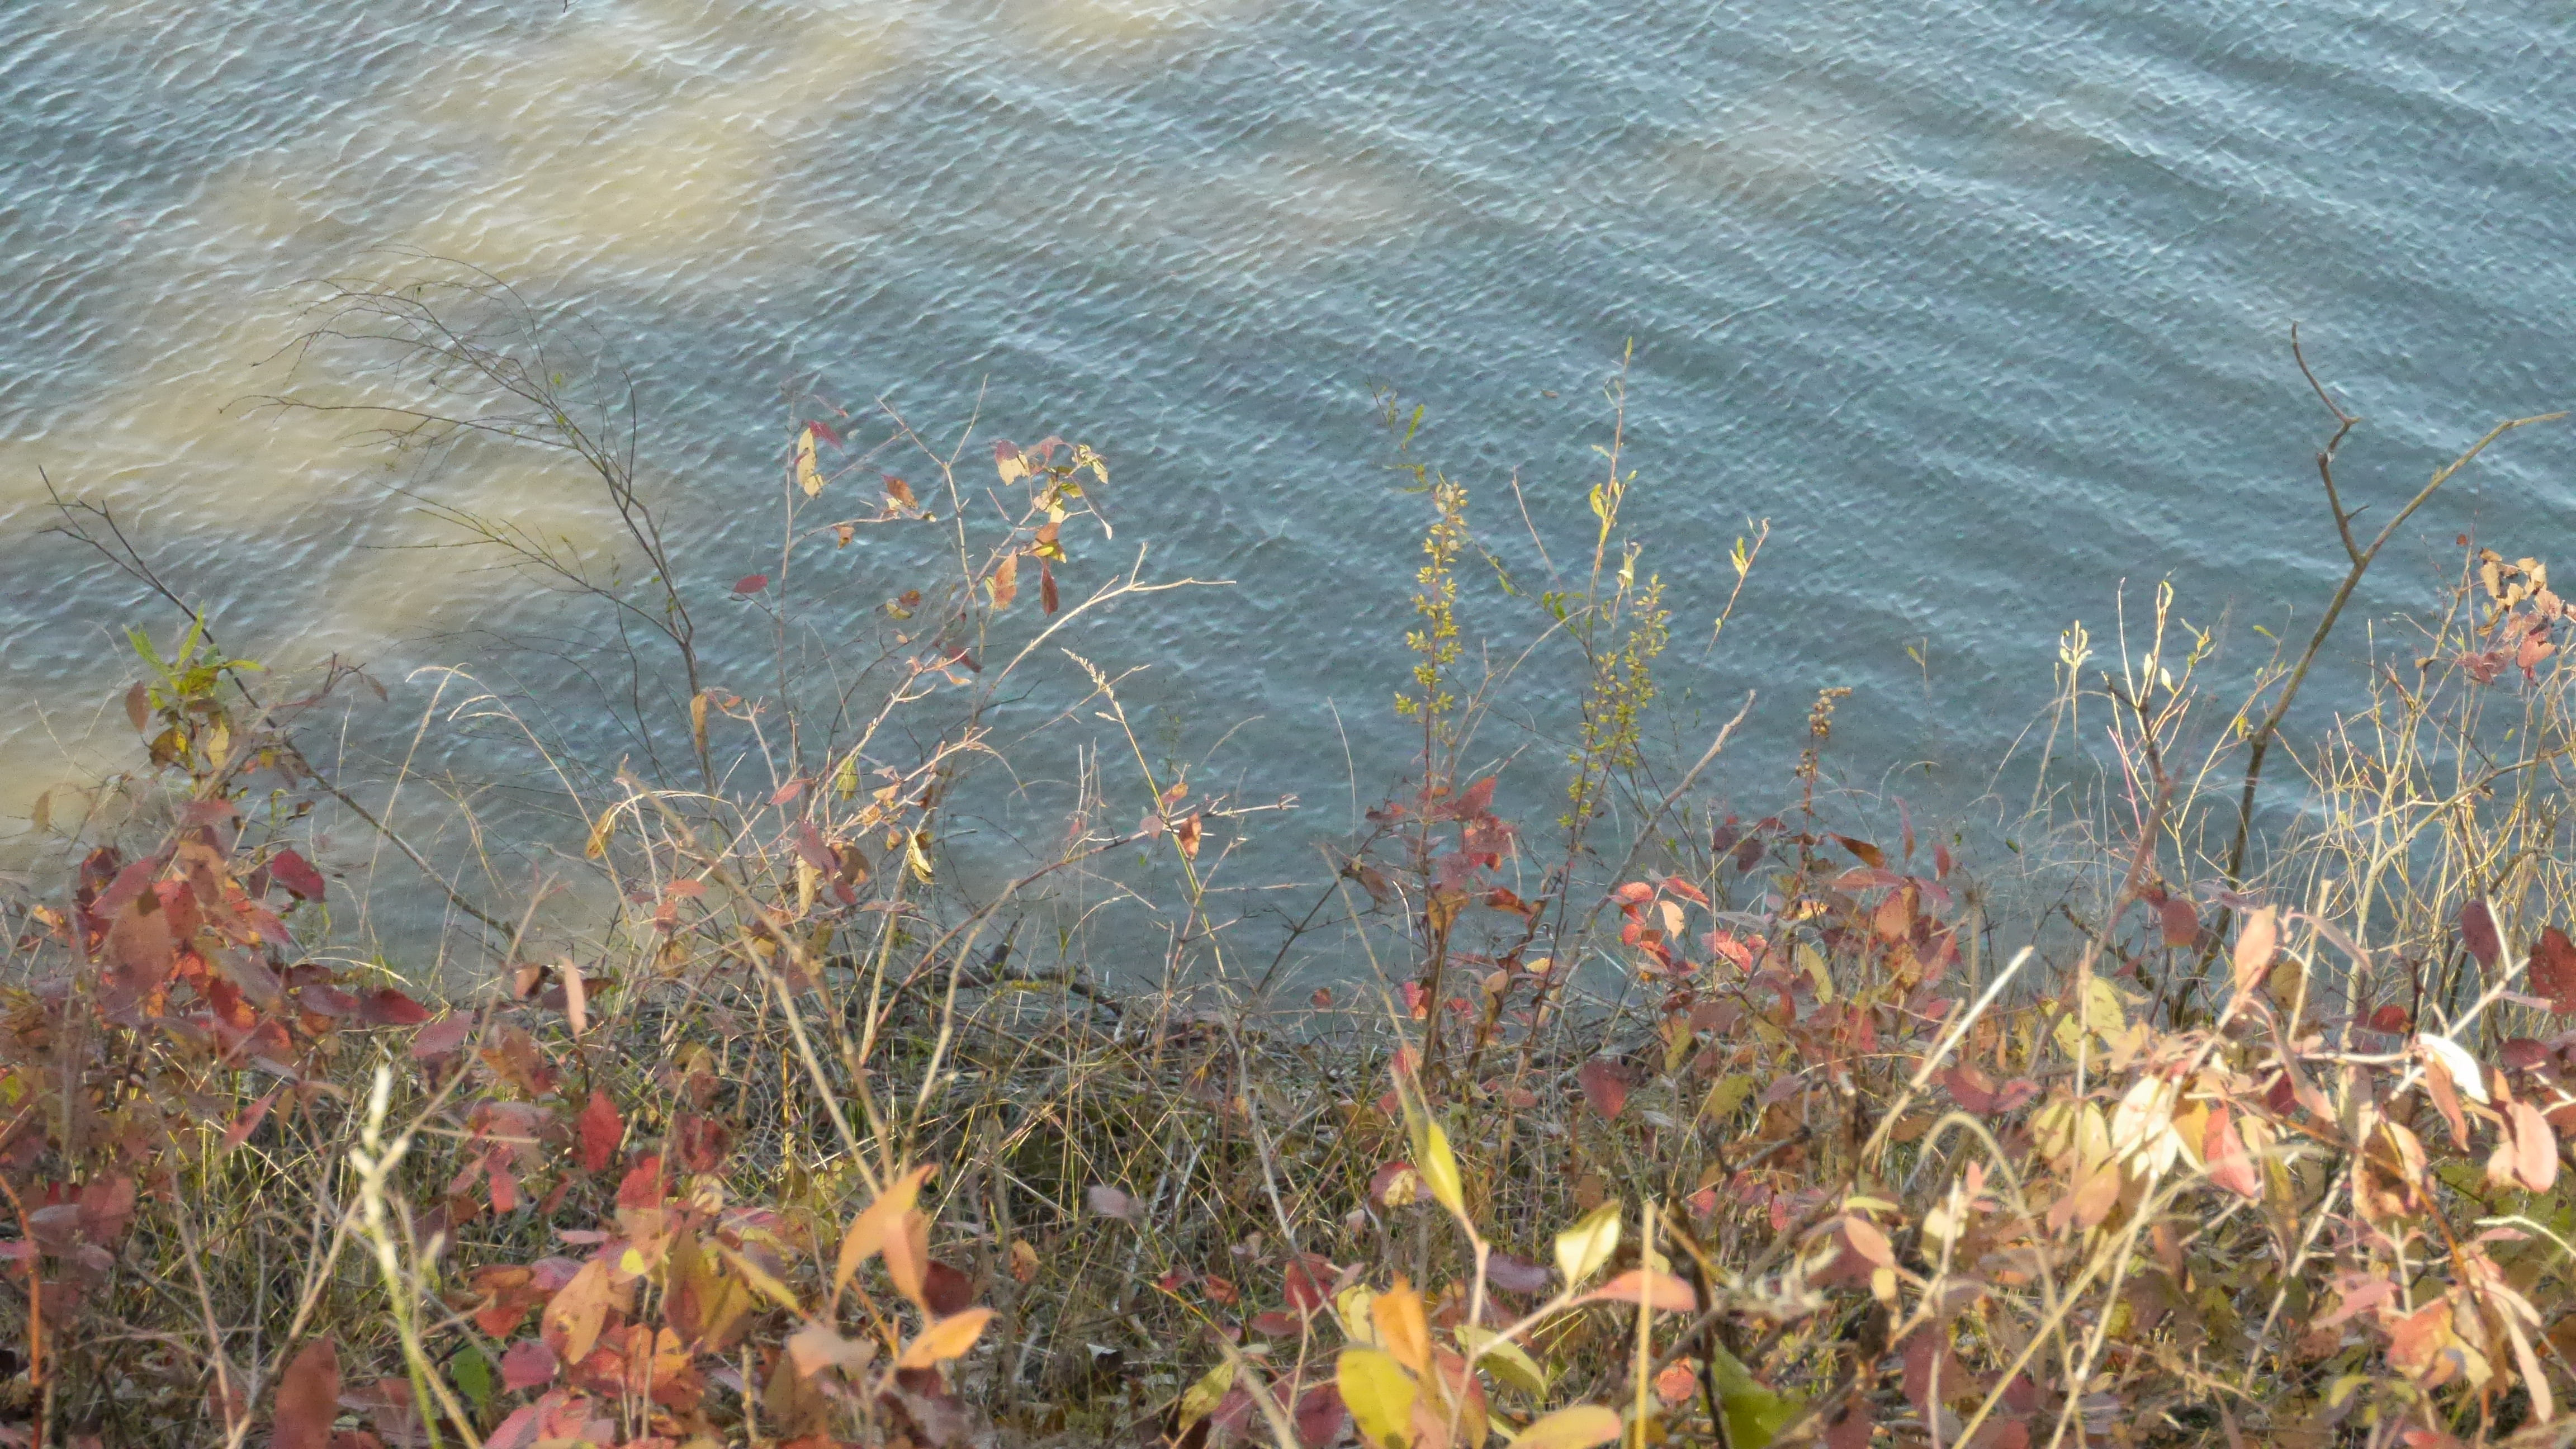
The gorgeous blue water and some pretty plants.
There are more on my photography page. For a quick link, click here.
It just so happens to be Max and Skye’s birthday today.
There was no puppy reunion like we do with the pups, but we did get our dogs something special. We own five dogs, and we were puppy sitting Robot. So we bought them all pupcakes – cupcake shaped puppy treats – and they each got a bite of it with some peanut butter. I did a short video of them each getting one. Not quite as much excitement, but anyway, enjoy!
Shutter speed and aperture are similar for filming, in that they control the amount of light that the lens allows in. They are different in how they do this though.
Shutter speed levels deal with 1/xnumber per seconds. So if you’re doing a shoot, and your shutter speed is set to 1000, then it will 1/1000 s (s=seconds). Based on most cameras, the number will increase by doubling the previous number, and will in turn double the amount of light that is let in. If the number is lower, then it will begin halving the amount of light, as it is shorter times.
Say for example, you are taking a picture of a moving vehicle. The higher the speed of the vehicle, the higher the shutter speed will need to be in order to capture the vehicle clearly. It will in turn, blur out the background (typically).
If you are trying to get a shot of something that is moving slowly, then you can get away with a lower shutter speed.
To really really simplify what shutter speed does, is to say that it essentially allows you to capture moving objects with more clarity and focus. That is a very simplified definition of shutter speed. There is a lot more to it.
I find it tends to lend much better to people taking photographs than for video, but of course, if you are filming something that is going very quickly, to get it clearer and better focused, hope that you have your shutter speed setting high.
Aperture deals entirely with how much light comes into the scene. You’ll notice aperture settings start off around 5.6 on average, and usually go up to about 22.
Aperture deals specifically with the lens and widens and closes to allow a certain amount of light in.
To simplify it, the lower the number, the larger the aperture, the higher the number, the smaller the aperture.
So if you have a higher setting for your aperture, less light is likely to get through the lens and will be limited to only a certain part of the image. If it is lower, you will have more light entering the lens causing more of the image to be affected by the light.
Aperture also effects depth of field when combining it with shutter speed. If you have a high shutter speed, and low aperture setting, sometimes, not always, you can get a shot with perfect depth of field. This is when the background is blurred out, and the object is in perfect focus.
If you have a higher aperture setting and a lower shutter speed setting, the image is likely to have more in focus.
It sounds confusing, and the best way to understand it’s effects is to look at examples. Unfortunately, despite my best efforts, I was unable to get a really good example displaying this for filming and photo. Despite playing around continuously with the settings, I couldn’t get a perfect example. Just semi-decent ones. Since I’d rather show you something that outlines it quite well, I didn’t bother uploading any examples. My apologies. Wikipedia has an example of this on their aperture page, and any google image search should give you a good idea of what the different settings mean.
Focus is relatively straight forward so there’s nothing to worry about there!
Focus entirely deals with what is clear in your shot. What stands out the most, and how to make sure that it looks good.
Say you’re trying to film a dog toy on the carpet. Immediately, you should know whether or not the ball is in focus. It is your main target and what you want to be seen first in your shot.
If it’s out of focus, the image will be very blurry. It’s possible that the entire shot will be completely blurry.
Out of focus can also relate to the wrong object being in focus. Say you want to get the ball in focus, but you accidentally got the couch in focus instead. The ball will still be out of focus and appear blurry.
Soft focusing is where most beginners tend to have difficulty. Soft focusing means that the image you have is sort of in focus. It looks like it’s in focus but it’s not crisp and sharp. The object is still just a touch blurry and just doesn’t stand out the way you want it to.
Clear focus is what you want. This is when the object – or the ball in this case – is completely in focus. You can see it’s details and it stands out from any other objects in the shot.
Clear focus and a good depth of field is ideal for not only artistic shooting but also to make a shot look beautiful.
If you are shooting a person talking, or trying to get this one shot of a snowy field with a single soccer net sitting alone, make sure you have the right object in focus first. From here, zoom in until the background is blurry. Depending on the lens, this might mean getting closer to the person or object. If you are close enough, then sometimes you might need to zoom in more. This will allow a crisp, sharp, shot of the object or person, without any distractions in the background. The background will be blurred out just enough that the thing you want people to focus on will stand there, quite clearly, without any confusion.
This type of shot is both aesthetically pleasing, and shows that you know what you’re doing. Sometimes it’s tough to get without the right equipment, but it’s worth putting the time in to get. You’ll be happy you did.
Frame rate is difficult because it varies depending on what camera you have.
In my case, on my Panasonic Lumix GH3, the setting is a matter of percentage. So if I want to slow it down really slow, I have it film at 40%, if I want it really fast, I have it film at 300%.
The percentages deal entirely with how many frames it takes in. The faster the shot, the less frames there. The slower the shot, the more frames there are.
Some cameras, as I’ve been told, use a 1/# of frames per second. On here, I’d imagine it’d be about the same thing. The more frames you have, so say 1/.5 seconds (I think that’s possible), will allow the camera to film several more frames. If you do it at a higher rate say 1/25 seconds, it will speed it up because it will not be shooting every frame. Only every so many frames. (I’m not entirely certain on the numbers per seconds so don’t take my word on that)
So, the more frames you incorporate, the slower the shot will be. The lower the number of frames you have, the faster the shot will be.
For shooting in general, frame rate also includes this:
Most standard cameras will shoot at 24 to 30 frames per second. For web videos, you will more than likely be shooting around 30p. This is 30 frames per second progressive.
Progressive means that all the lines in the frame are drawn in sequence. This allows for a generally smoother image and appears more realistic to the viewer.
Interlacing doubles the frame rate – 50i, 60i – and allows for two different sets of “lines” to appear. This essentially allows overlapping of shots as it’s shooting. It can create clearer video as it enhances motion and reduces flickers.
So which do you use to shoot? Well that depends on your camera and what you’re shooting for.
For HD TV, you would want to be shooting at a high resoultion of 1920-1080 with 60i. This shoots at a high resolution, giving further clarity to the image. The interlacing, in my opinion, is up to you ultimately. You can use progressive for this, you just need to make sure that it’s high enough to accomodate HD programming. 60i may also not be high enough. You may need to shoot in something higher like 1080p or 1080i. 6oi for HD cameras, tend to be for using broadcast cameras for video that will go on the web.
Web filming is also different. While trying to maintain quality and not having a huge file on your hands, your best bet is to shoot 1920-1080 at 24p or 30p. For web, I shoot at 1920-1080 30p. After this, because I use a mirrorless slr, I have to convert the footage to mp4 format, so that when I export as a quicktime movie, it will upload with some decent quality onto youtube. I highly recommend that if you have a DSLR, that you do this. Convert all the footage to Apple Pro RES LT, and then use those videos for editing. The file might end up being a bit bigger than you’d like, but it’s good quality and not too hefty, so it’ll make uploading video much easier and you will have nice clear quality.
I always recommend shooting at a high resolution, and as high as possible for either interlace or progressive.
All right, I think I rambled on enough. Here are some examples of shutter speed, focus, and frame rate (for sped up and slowed down shots).
The shutter speed footage is a bit difficult to tell but I think the trees blowing do change the quality of the video as the shutter speed is brought up. Of course, there’s no reason why you would need to shoot trees blowing in the wind at 4000.
Also, since I convert all my footage, it would be difficult to show you the difference between the different frames per second and resolution. I don’t know how clearly that would come across (I need to experiment more with it), so there won’t be anything in the video showing that unfortunately.
ISO and gain are used for very similar things. The difference? Well it depends on whether or not your camera has one or the other, or in some cases, both.
Most dslr – mirrorless or with a mirror – tend to have ISO settings. Gain is typically found on cameras that are for video purposes only.
What is it though? Well the answer is somewhat simple. ISO and gain are used on cameras to help add more clarity and light into a video, or even photo, in a dark environment.
When you do it manually, you can change the settings. For ISO, most cameras have a setting from 200-6400. If your camera doesn’t get to 6400, it will at least make it to 3200. ISO settings can be adjusted regardless of how dark an environment is. When you white balance, some cameras will automatically set your ISO to the best setting – you can always adjust it manually – and it will sometimes be high even if it’s a light day out, or overcast for example. In these cases, you might not see any real noise, and that’s primarily due to the fact that there’s natural light so it’s not effecting the video in the same way.
For the sake of this post, I’m focusing on ISO in dark environments.
For gain, most cameras go from 0db to 12db. “db” refers to decibels which is the level in which your gain is at and the signal that it sends out from the camera. I could get more technical, but I think it would become relatively confusing. So for now, just understand that “db” is decibels and as you raise it, the more noise you have in the shot. You can go higher that 12db, but you risk getting a considerable amount of noise, but if the environment is really that dark, then you must do what you must do.
The only problem with filming in a dark environment and raising the levels for gain and ISO, is that your video, and photo, will receive a lot of “noise”. Noise is all the little grainy spots that appear on the video and photo.
It’s a handy tool that will lighten everything up, but it won’t appear crystal clear as perhaps something better lit.
Here is a video as an example. You’ll see the different ISO levels and how it effects the video in a dark environment, and in the video the “noise” is pointed out. Don’t worry about audio, there isn’t really much to it.
Summary: ISO and gain can be turned up in order to allow clarity of the shot you’re taking. It is typically only raised high in dark environments and when raised, it will increase the amount of “noise” in your shot. ISO can also be used in different lighting environments though and when you white balance, it will automatically adjust the ISO setting to accommodate. In this case, you might not get any noise because you’ll have proper or better lighting. It is only when you set the ISO high in a dark environment, or low light, that you will start seeing noise develop.
Note: You can see the noise a bit better when you maximize the video. Watching it small, it’s not quite so obvious.
Oh white balancing. It’s easy to do when you know how to do it, but it can be a pain if you forget.
White balancing or colour balancing an image or shot, corrects the colours and balances out each individual colour in the shot. It colour corrects based on shading, light temperature, and overall sense of the shot. When I say this, I mean it will fix all the little colour and shade issues that you see in your camera. It will help to make reds look more red as opposed to orange, blues more defined, and whites will be more clearly white. By white balancing, you are literally correcting the colours to appear their colours without tinges of orange/yellow and blue.
So how do you know for certain that your shot isn’t properly white balanced? The image you see in the view finder – the coloured one – will have a tinge of either orange/yellow or blue to it. Sometimes it will be blatantly obvious, other times it will be a bit more subtle. If it’s obvious, re-white balance or white balance if you haven’t already. If it’s subtle, or you’re unsure, just white balance again so that you don’t run into that problem.
When white balancing, make sure that you’re doing it on an object you plan to shoot under the lighting your using. So if it’s an interview, have the person hold up a white piece of paper so that the colours are properly done where that person is and under the right lighting conditions. This will help prevent huge issues later.
Lighting can affect the way an image looks too. Sometimes your camera will be smart enough to fix it, other times, with too many different lighting temperatures (yellow light, white light, natural light etc.), your camera may not be able to give you the most ideal shot. If this happens, try adjusting the lighting situation by either keeping it to one light temperature, adding in more light, using a reflector (photographers know how to use these better than some videographers I think), taking away light (if you can), or changing the position of the shot object or camera. Sometimes it is as simple as the angle of the shot just doesn’t work. You can also end up with your camera saying it’s “over level” or “under level” preventing your camera from being able to white balance. In this case, here are some ways to troubleshoot.
Over level.
This happens when there’s too much light in the shot. This could be that your facing the sun and the sun is just low enough that it provides too much light. In this case, change the position of your camera and what you’re filming (if you can) so that there’s less light coming in. This will help to properly white balance.
Turning off lights that are unneeded in the shot will help take away some of the light too.
The best way to do it though is to change the camera position first, if that doesn’t work, then start fiddling with the lights.
Low level.
This happens when there isn’t enough light in the shot and it’s too dark. There are a few ways of fixing this problem.
1. Turn up the gain.
In dark situations, turning up the gain or iso will help lighten the shot enough to be able to see it more clearly. It will cause some noise or graininess to the shot, but it will be brighter and easier for you to white balance.
2. Change the aperture.
By allowing more light in the lens, you will be able to get a brighter shot and be able to white balance.
3. Add more light.
If you are able to simply add an extra light, turn on lights, or any other method of adding more light to your shot (without changing the colour temperature and mixing white and yellow lights) then go for it! It’s the easiest and best way to adjust your shot. This will allow your camera to white balance properly.
Here are some examples of white balancing with errors compared to those that are done properly (video and photos provided – ignore audio for videos):
The first video isn’t perfectly white balanced. It is more subtle than the others but if you watch, you’ll see that it doesn’t look perfect.
The second video is perfectly white balanced. You can tell by the clarity of the colours and how it looks like a much better shot.
This shot just looks dark. It needs to white balanced so that it’s brighter. It may not have a blue tinge to it, but it’s definitely not the right colour balance.
As you can tell in this shot, there is a lot of yellow tinge to the whole video. It’s not properly white balanced at all and definitely needs to be re-done.
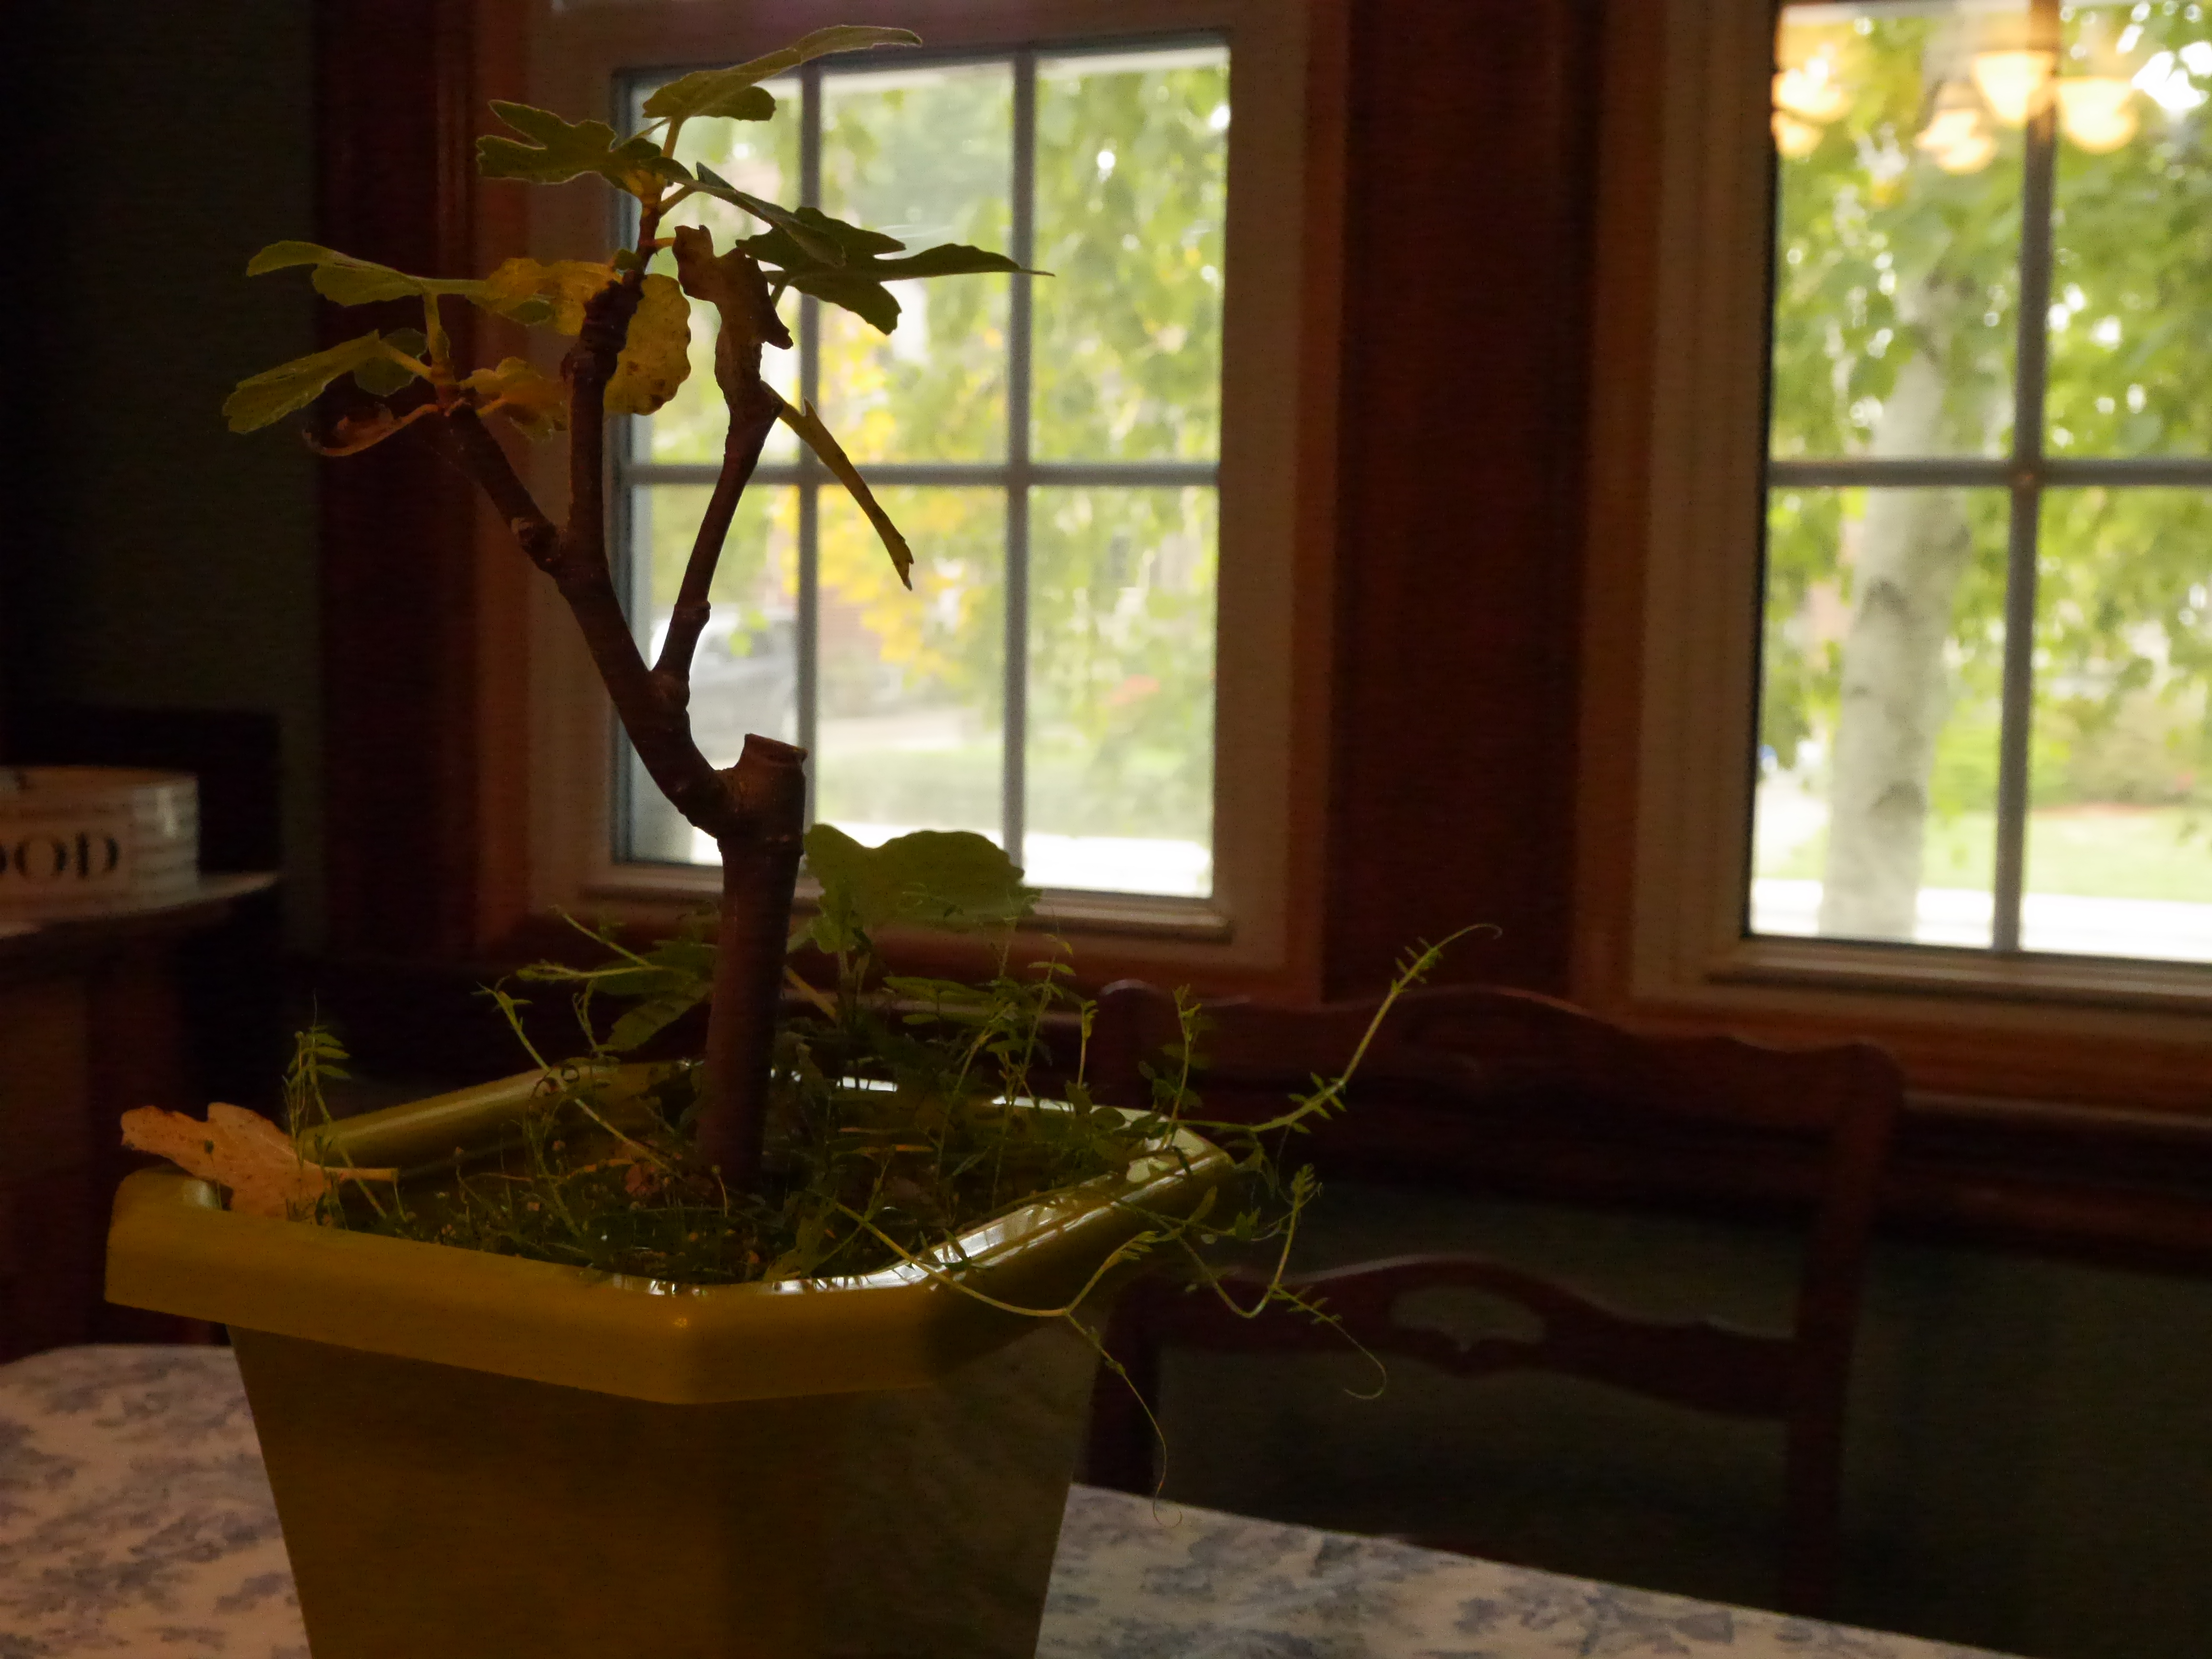
As you can see, the image is quite yellow. It’s clear that the photo isn’t properly white balanced.
You can still see that the image is a bit yellow on the green. Re-white balance just to be safe.
The photo has a blue tinge in it. This tells you that you need to white balance.
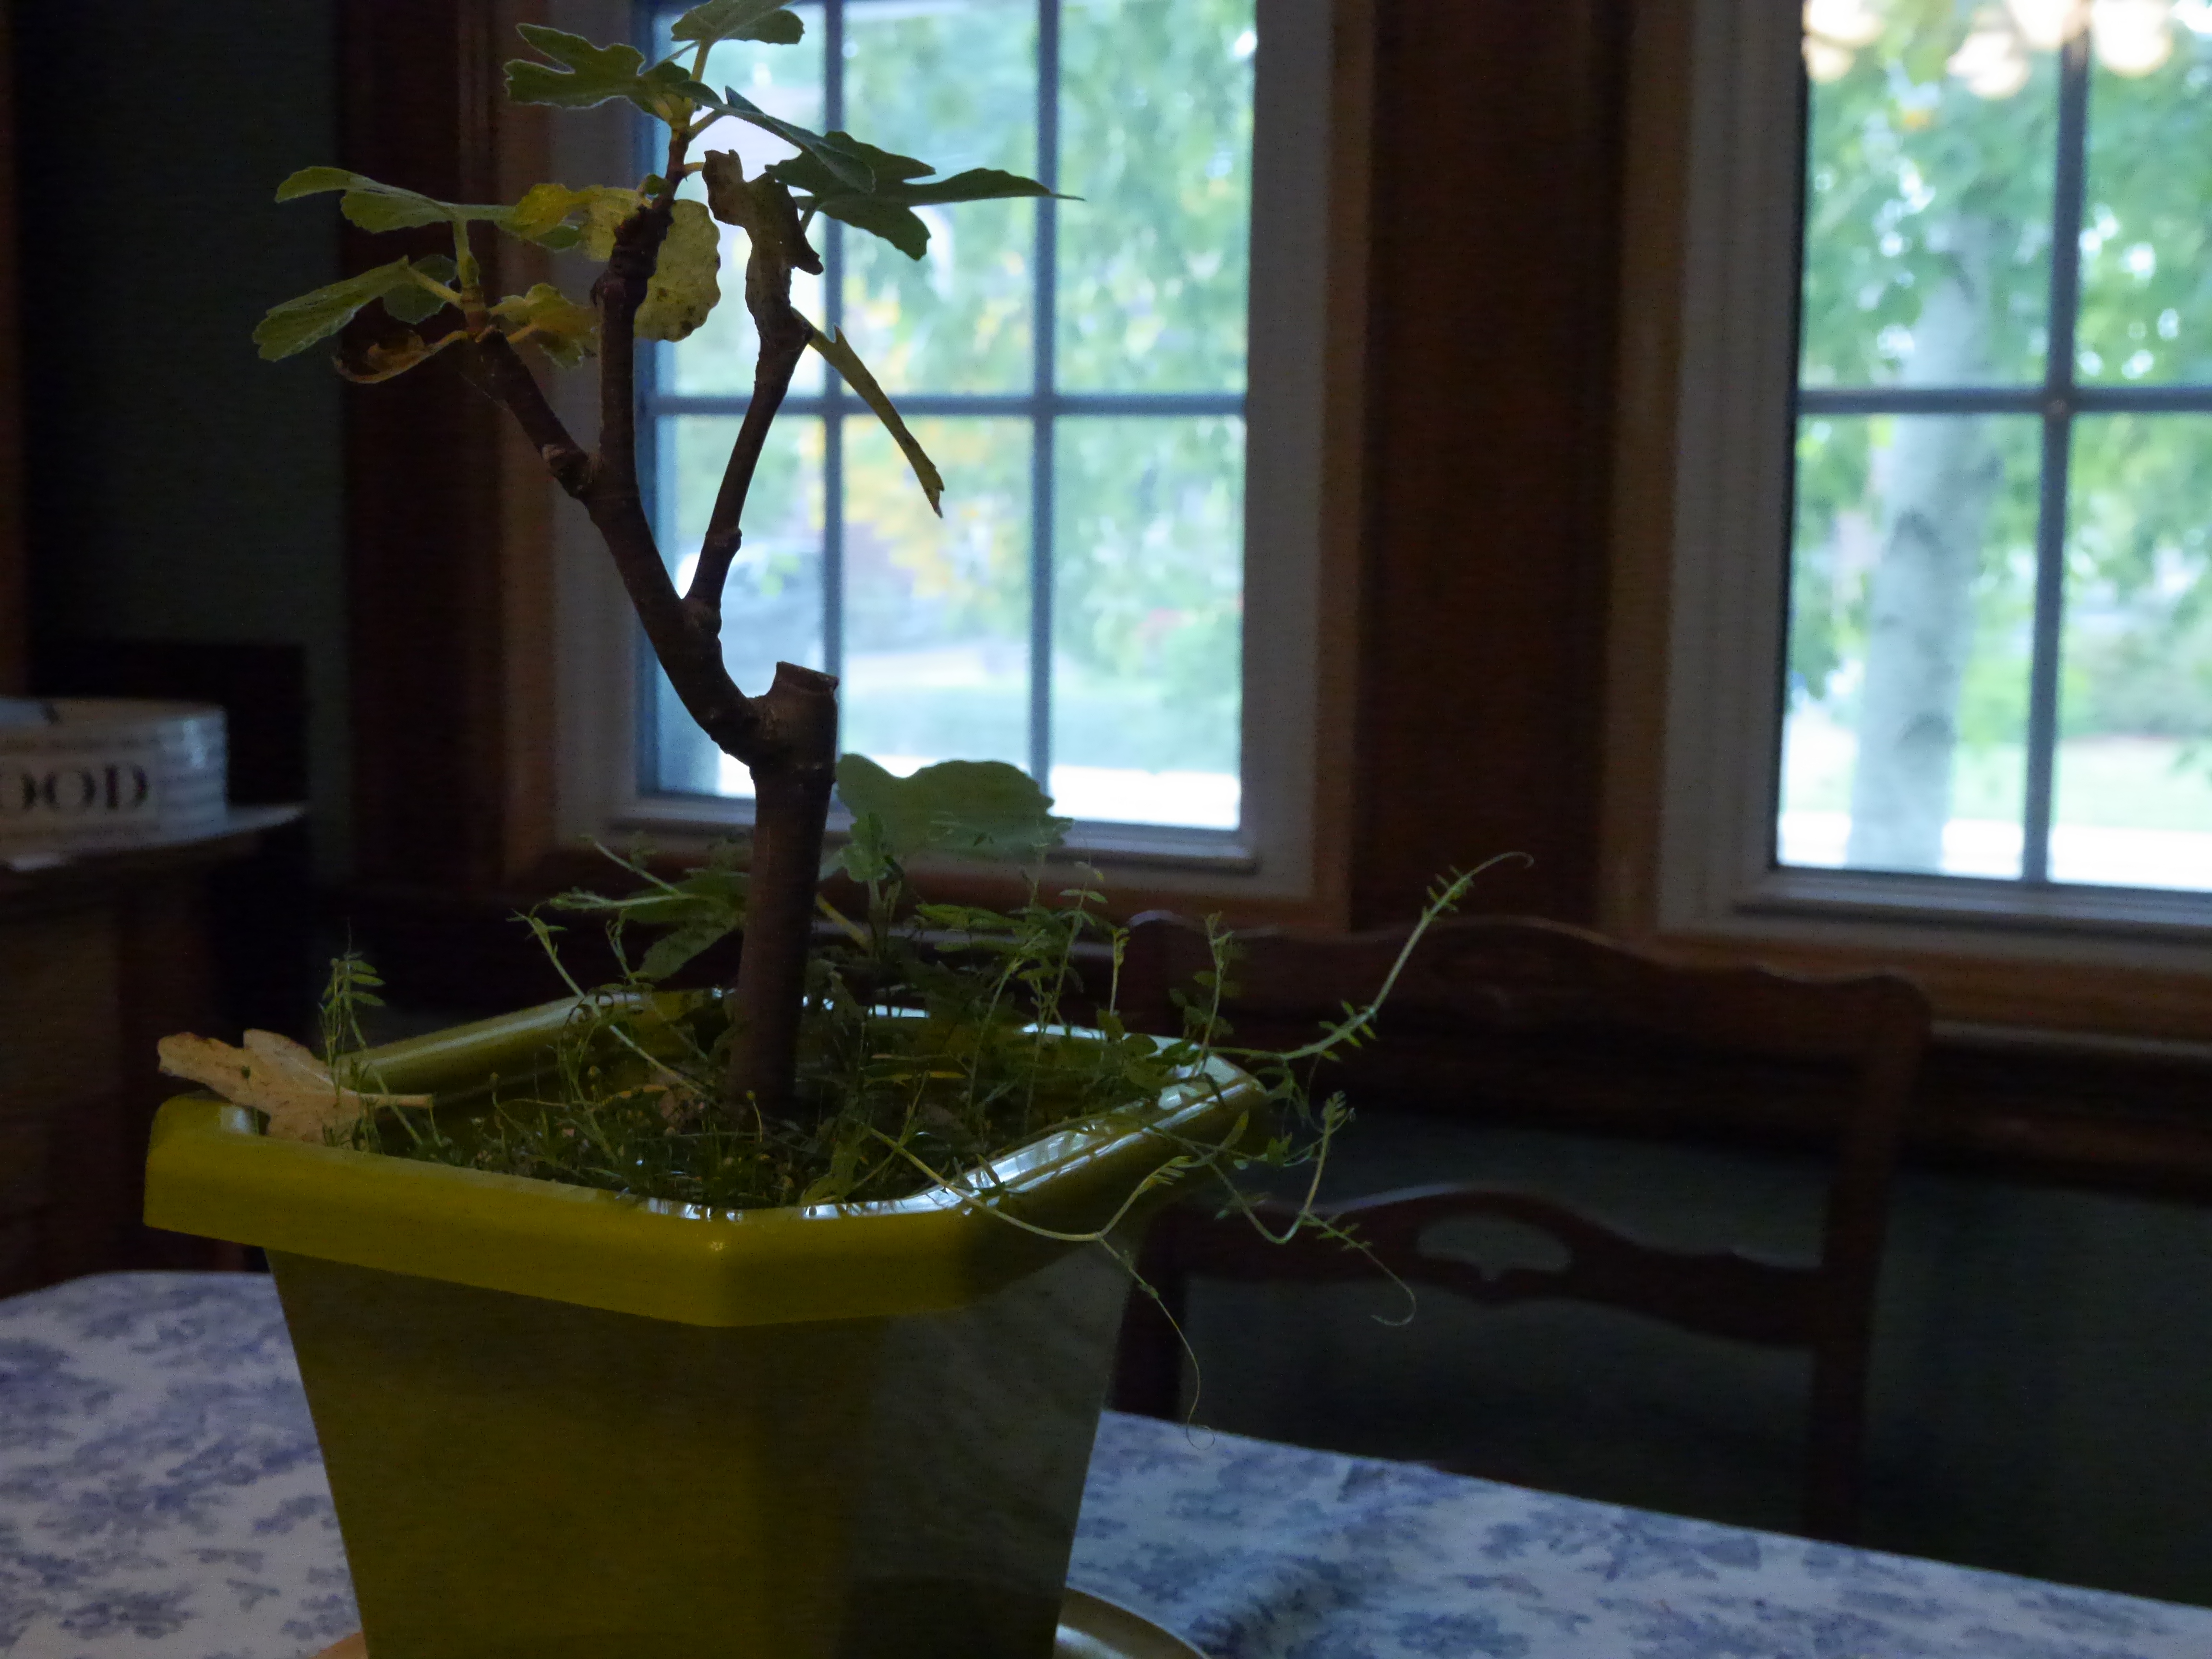
This is the closest you’ll get to a well white balanced photo. It might not seem 100% but the green is brighter in this photo and there’s no blue ting to the light coming in.
All right. So for the next several posts, I’m going to be doing up instructional videos and steps for to ensure that beginners understand the importance of setting up a shot, and understanding the features of their camera.
Granted, everyone uses different cameras, but a lot of the terms are essentially the same. The videos will show the difference between using these functions properly and things not being set correctly.
I’ve provided, for this post, a list of things to make sure you do in planning a project and the steps to take to ensure your shots turn out great. All bolded words will become detailed posts later on for you to read and understand what they do and their importance.
You have an idea:
– Do your best to know what you want to do and create a general outline of your idea
– Do all the necessary research of everything you need and the information you’ll need to write a good script – sets, locations, characters (fictional or non-fictional), equipment (camera, mics, tripod, etc.), and anything else that might come to mind
– Figure out what your budget is and realistically what money you have at your disposal – make sure your plan, script, and storyboarding reflect what resources you have and what you can afford
– Work on writing out a script. Make sure to edit it a few times before deciding to hand it out to other people
– Storyboard based on your script – draw out each frame based on what happens in the script so that camera angles and locations are represented in the images, making it easier to film when you go to shoot your scenes
– After the script and storyboard is agreed upon and it’s planned out, double check all equipment and ensure you have everything together – make sure things are put together so that you don’t run into dead batteries on the day your shooting, or worse, camera/mic failure
– Schedule the shoots and which scenes are going to be done when – if you share this with others working on the project it will make it easier for people to determine when they need to show up and work it into their own schedules
– Start on time and make sure to show up early to the shoot so that everything can be set up and any troubleshooting problems can be solved in a timely matter – this way the shooting won’t take three times as long and when the characters show up to their scene, they aren’t standing around waiting for things to pick up again
– Before starting to shoot make sure the cameras are where they need to be, batteries are full, everything is properly white balanced, iso/gain are on the right levels, the resolution and frame rates are at the right place, the shutter speed is set properly, aperture is set correctly, focus is right, audio levels are reading and you’re not getting heavy background noise (depends on where you’re shooting of course), mics are working correctly and you have the right ones with you for the shoot, right framing for the shot on each camera you’re using, make sure the lighting is properly placed and you’re not getting shadows where you don’t want them, the appearance of the shot looks the way it needs to be both on the live view finder and through the view finder in the eye piece, make sure that the background is how you want it to be and isn’t full of objects or distractions that could take away from the shot.
– Begin filming your scenes
– As you finish filming each day, transfer your footage to your computer and organize the clips into folders with the name of the scene on each one – it will keep things better organized and easier to edit things together when everything is properly organized
I will do more posts on editing techniques and the like, but I thought I would start off with the basics of filming first and getting to know what the different features on your camera do and how they affect the image. There are lots of little techniques that can be done to improve your shot while filming which can cut down on your work in post production. Audio is the trickiest and there’s lots to learn in that area. But we have to start with the basics first.
There isn’t much to say. In the last few months I produced and organized a documentary with a fellow classmate. It is online and I will be posting it on the site shortly. Since that documentary, I decided to create an entire one on my own using my new equipment.
What I used to film it:
– Panasonic Lumix DMC HG3
– Rode Microphone Boom
That’s really about it.
The documentary is about a family – my family – and a puppy reunion. After adopting one dog, Max, we took in his sister, Skye. Max is such a well behaved dog with no aggression or overly hyper hormones, that we decided not to chop off his balls. His sister had never been spayed either. We tried to get her fixed but unfortunately she went into heat within a couple of days of being around Max. Despite our best efforts, Max impregnated Skye. There was never any confirmation that she had been pregnant, the vet was convinced that she wasn’t. How could you feel the uterus and determine a dog isn’t pregnant when she actually is? When the dogs uterus with the puppies, is in her rib cage.
Needless to say we were all excited, shocked, and overwhelmed as we welcomed all 7 puppies into the world. The weeks feel like a blur now filled with no sleep, stress, tension, and chaos. We all look back on the experience as a wonderful thing to have happened. We’re all very glad we were able to share in it and help raise these puppies, find them good homes, and still keep in touch with the owners. However, none of us ever want to go through it again.
So in light of making sure all the pups are doing well and the owners are having no problems, we have been scheduling a yearly reunion on, or close to, the puppies birthday. I decided this year, the second reunion, that I would record it and turn it into a documentary. I also borrowed photos from my brother and a fellow owner who is also my brothers friend.
The process went surprisingly well. There were some shots that turned out great, others that could have been better, and some that I wish I could’ve gotten but I wasn’t in the right place in time. It happens when everything is happening at once.
Overall the filming went pretty well. I got lots of footage for an 8-10 minute documentary. It was a balancing act between getting the shots I knew I needed, with lots of great ones to really show the puppies personalities and what they’re like, and socializing at the same time. I did much less socializing this year to say the least.
Everyone was very good about me filming too. It made the whole thing a lot easier.
When I first edited the documentary together, I hadn’t done any interviews. I wanted to try to do everything with just information in between the different acts. I realized how boring it is and that it didn’t really work. I knew my family wouldn’t sit down to talk about it because they don’t like being on camera – myself included – so I got my boyfriend who had been there that day and had him answer some questions. I did the other part to fill in the areas I didn’t have him talk about and to provide some background information on the whole excursion.
The biggest issue I faced while filming was lighting issues. I don’t have a real lighting kit, and the lighting isn’t great in my house. Especially the room I did the filming in. I chose it because it provided the best background without being a white wall. It also provided less background noise. On the screen of the camera, the video didn’t look bad. It didn’t look perfect or great, but it didn’t look bad. When I transferred it onto my laptop, it was much darker than I thought it had been. If I had had the time, I would’ve re-shot the interviews, but I had a job interview the next day and I still had a lot of work to do in editing. So I did my best with what I had. Using Final Cut Pro I lightened the video as much as possible. I didn’t do any huge effects, but just by using some colour correction options I was able to make it better than it was.
Now I did run into some problems. This was my first time shooting on a mirrorless slr, and I had never edited footage from it before. I was first put under the impression that I would be able to convert all the footage post edit to pro res and it would look quite good. Unfortunately I couldn’t do that. Every time I tried, I ran into horrible video quality. I learned quickly that I have to convert all the footage before I put it into Final Cut. Lesson learned the very, very hard way. I did what I could but the video quality didn’t turn out as good as the raw footage. I ended up having to convert the video to a quick time file. Trying to do anything else and there would be graininess and a bit of blurriness, or worse. Let’s just say I will NOT be making that mistake again.
Anyway, here is the final product. It’s not great quality full screen but it was the best I could do.