Oh white balancing. It’s easy to do when you know how to do it, but it can be a pain if you forget.
White balancing or colour balancing an image or shot, corrects the colours and balances out each individual colour in the shot. It colour corrects based on shading, light temperature, and overall sense of the shot. When I say this, I mean it will fix all the little colour and shade issues that you see in your camera. It will help to make reds look more red as opposed to orange, blues more defined, and whites will be more clearly white. By white balancing, you are literally correcting the colours to appear their colours without tinges of orange/yellow and blue.
So how do you know for certain that your shot isn’t properly white balanced? The image you see in the view finder – the coloured one – will have a tinge of either orange/yellow or blue to it. Sometimes it will be blatantly obvious, other times it will be a bit more subtle. If it’s obvious, re-white balance or white balance if you haven’t already. If it’s subtle, or you’re unsure, just white balance again so that you don’t run into that problem.
When white balancing, make sure that you’re doing it on an object you plan to shoot under the lighting your using. So if it’s an interview, have the person hold up a white piece of paper so that the colours are properly done where that person is and under the right lighting conditions. This will help prevent huge issues later.
Lighting can affect the way an image looks too. Sometimes your camera will be smart enough to fix it, other times, with too many different lighting temperatures (yellow light, white light, natural light etc.), your camera may not be able to give you the most ideal shot. If this happens, try adjusting the lighting situation by either keeping it to one light temperature, adding in more light, using a reflector (photographers know how to use these better than some videographers I think), taking away light (if you can), or changing the position of the shot object or camera. Sometimes it is as simple as the angle of the shot just doesn’t work. You can also end up with your camera saying it’s “over level” or “under level” preventing your camera from being able to white balance. In this case, here are some ways to troubleshoot.
Over level.
This happens when there’s too much light in the shot. This could be that your facing the sun and the sun is just low enough that it provides too much light. In this case, change the position of your camera and what you’re filming (if you can) so that there’s less light coming in. This will help to properly white balance.
Turning off lights that are unneeded in the shot will help take away some of the light too.
The best way to do it though is to change the camera position first, if that doesn’t work, then start fiddling with the lights.
Low level.
This happens when there isn’t enough light in the shot and it’s too dark. There are a few ways of fixing this problem.
1. Turn up the gain.
In dark situations, turning up the gain or iso will help lighten the shot enough to be able to see it more clearly. It will cause some noise or graininess to the shot, but it will be brighter and easier for you to white balance.
2. Change the aperture.
By allowing more light in the lens, you will be able to get a brighter shot and be able to white balance.
3. Add more light.
If you are able to simply add an extra light, turn on lights, or any other method of adding more light to your shot (without changing the colour temperature and mixing white and yellow lights) then go for it! It’s the easiest and best way to adjust your shot. This will allow your camera to white balance properly.
Here are some examples of white balancing with errors compared to those that are done properly (video and photos provided – ignore audio for videos):
The first video isn’t perfectly white balanced. It is more subtle than the others but if you watch, you’ll see that it doesn’t look perfect.
The second video is perfectly white balanced. You can tell by the clarity of the colours and how it looks like a much better shot.
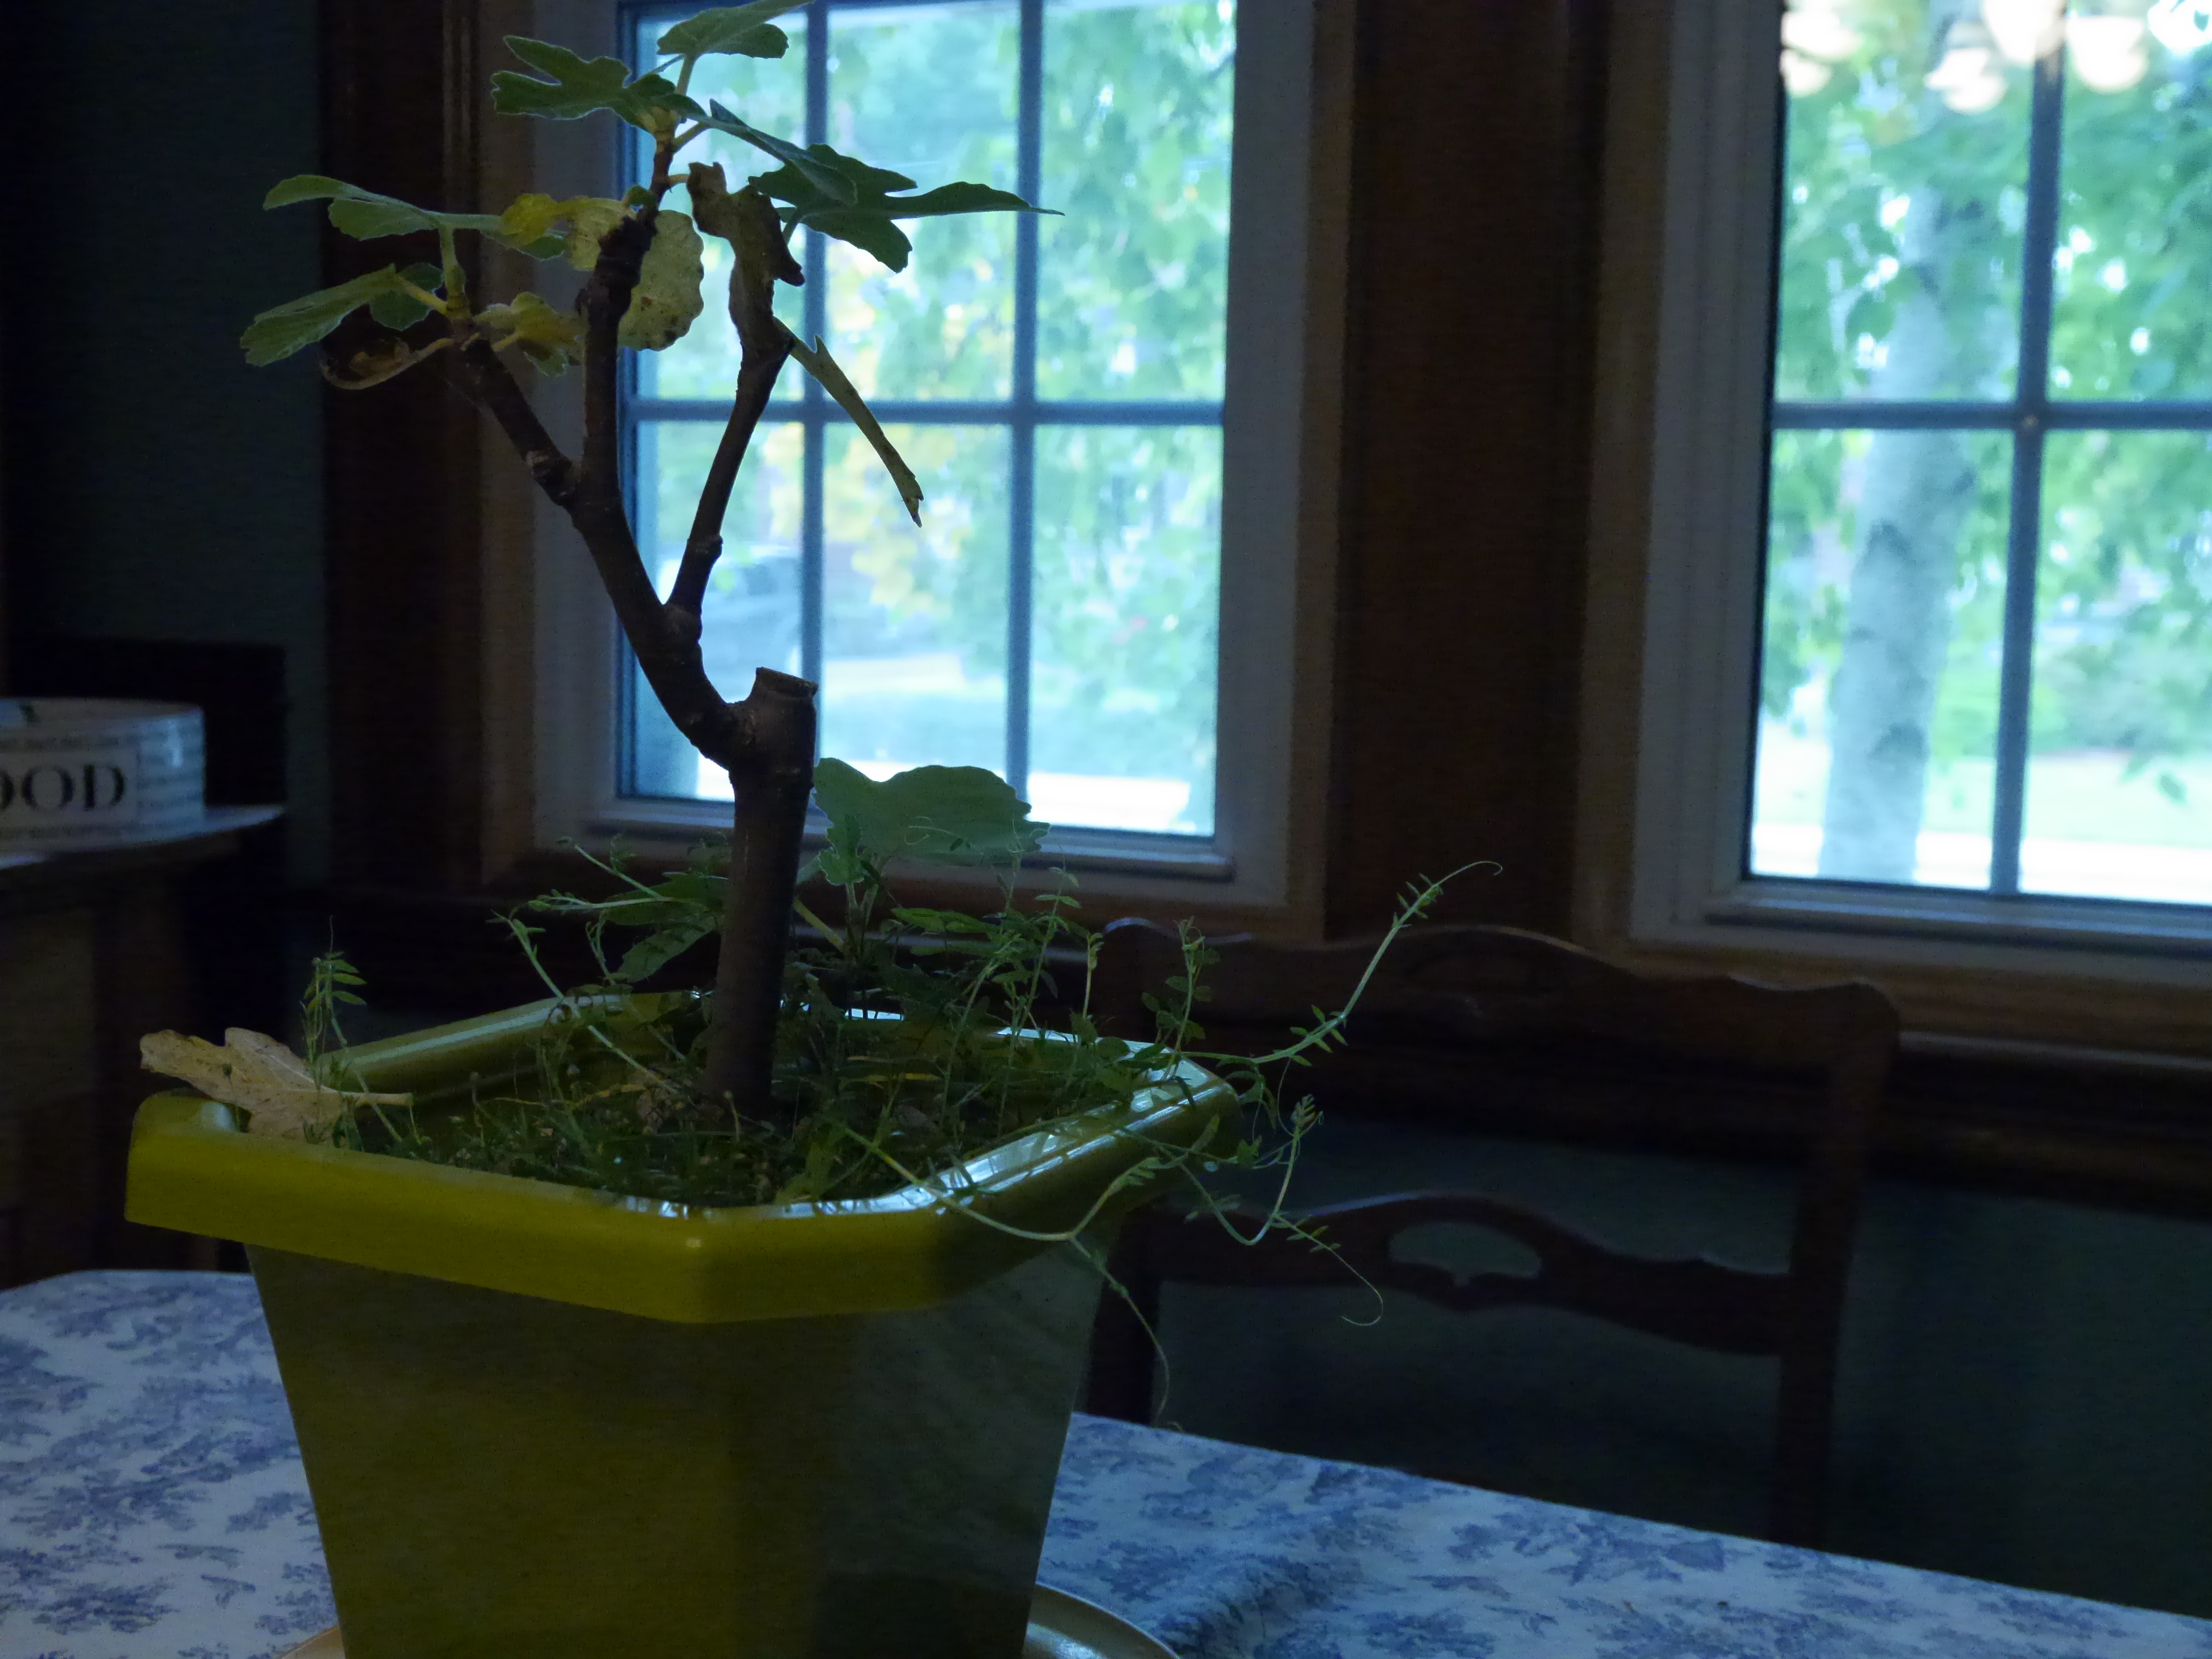
This shot just looks dark. It needs to white balanced so that it’s brighter. It may not have a blue tinge to it, but it’s definitely not the right colour balance.
As you can tell in this shot, there is a lot of yellow tinge to the whole video. It’s not properly white balanced at all and definitely needs to be re-done.
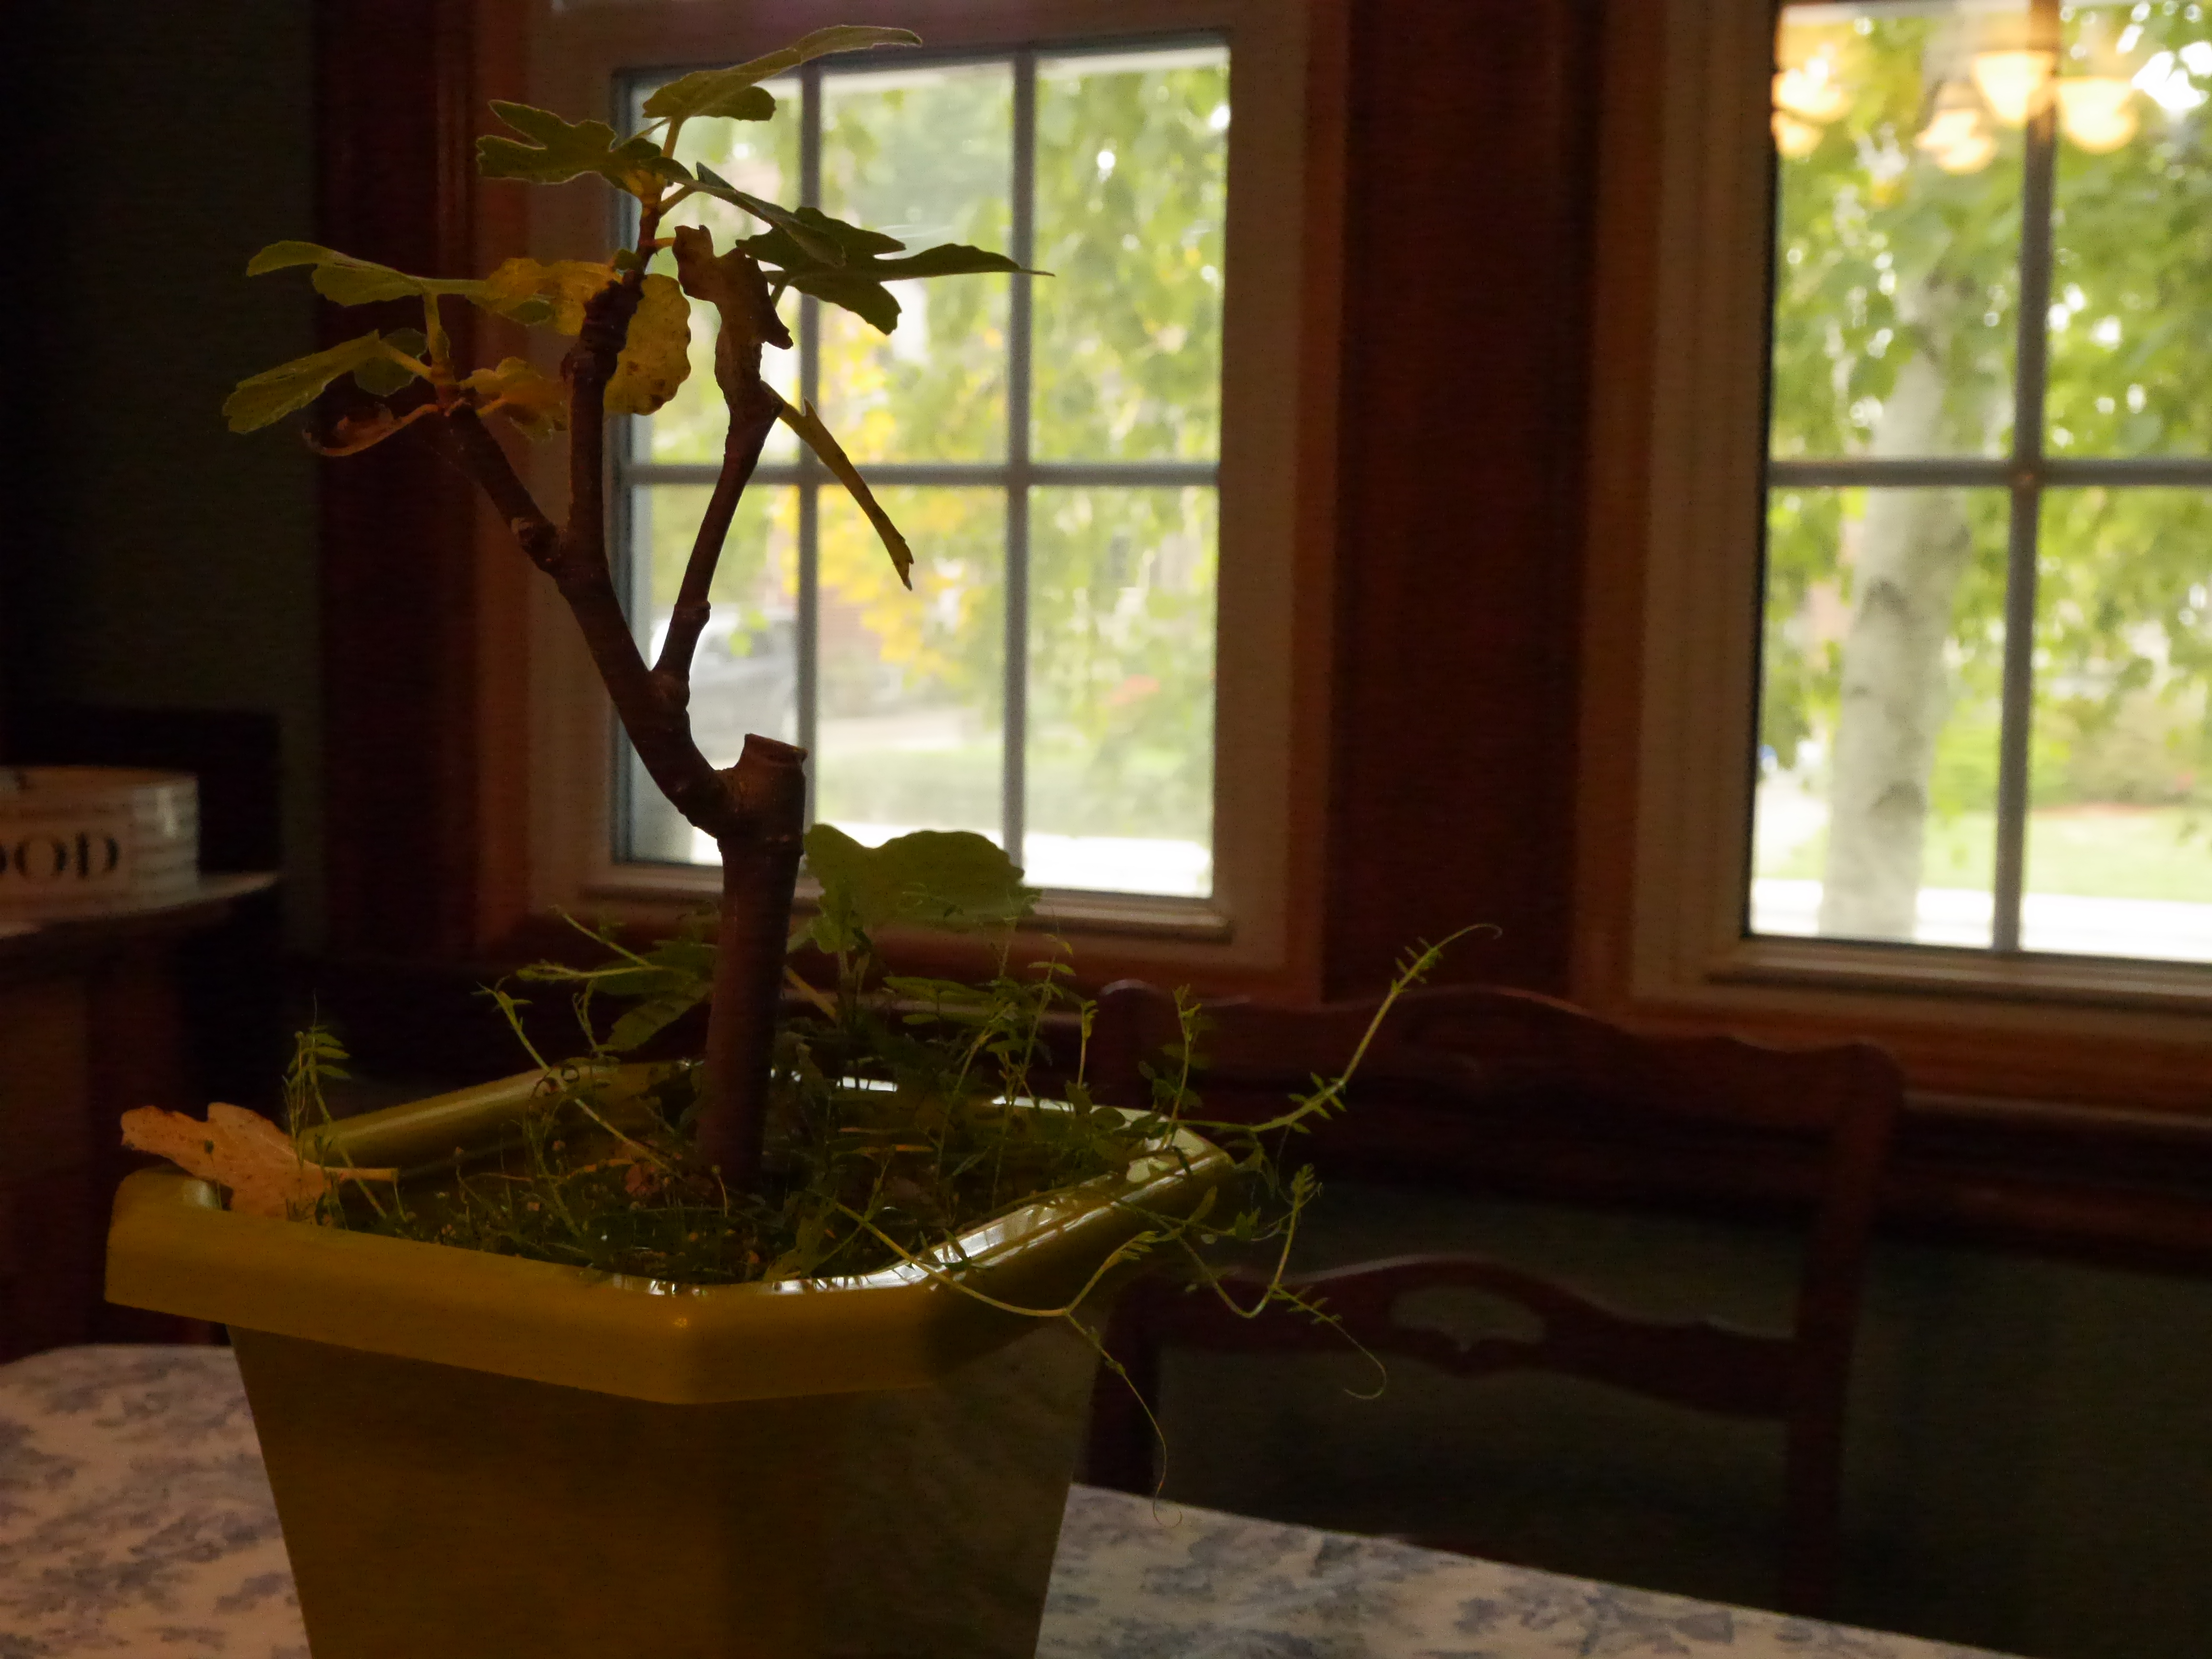
As you can see, the image is quite yellow. It’s clear that the photo isn’t properly white balanced.
You can still see that the image is a bit yellow on the green. Re-white balance just to be safe.
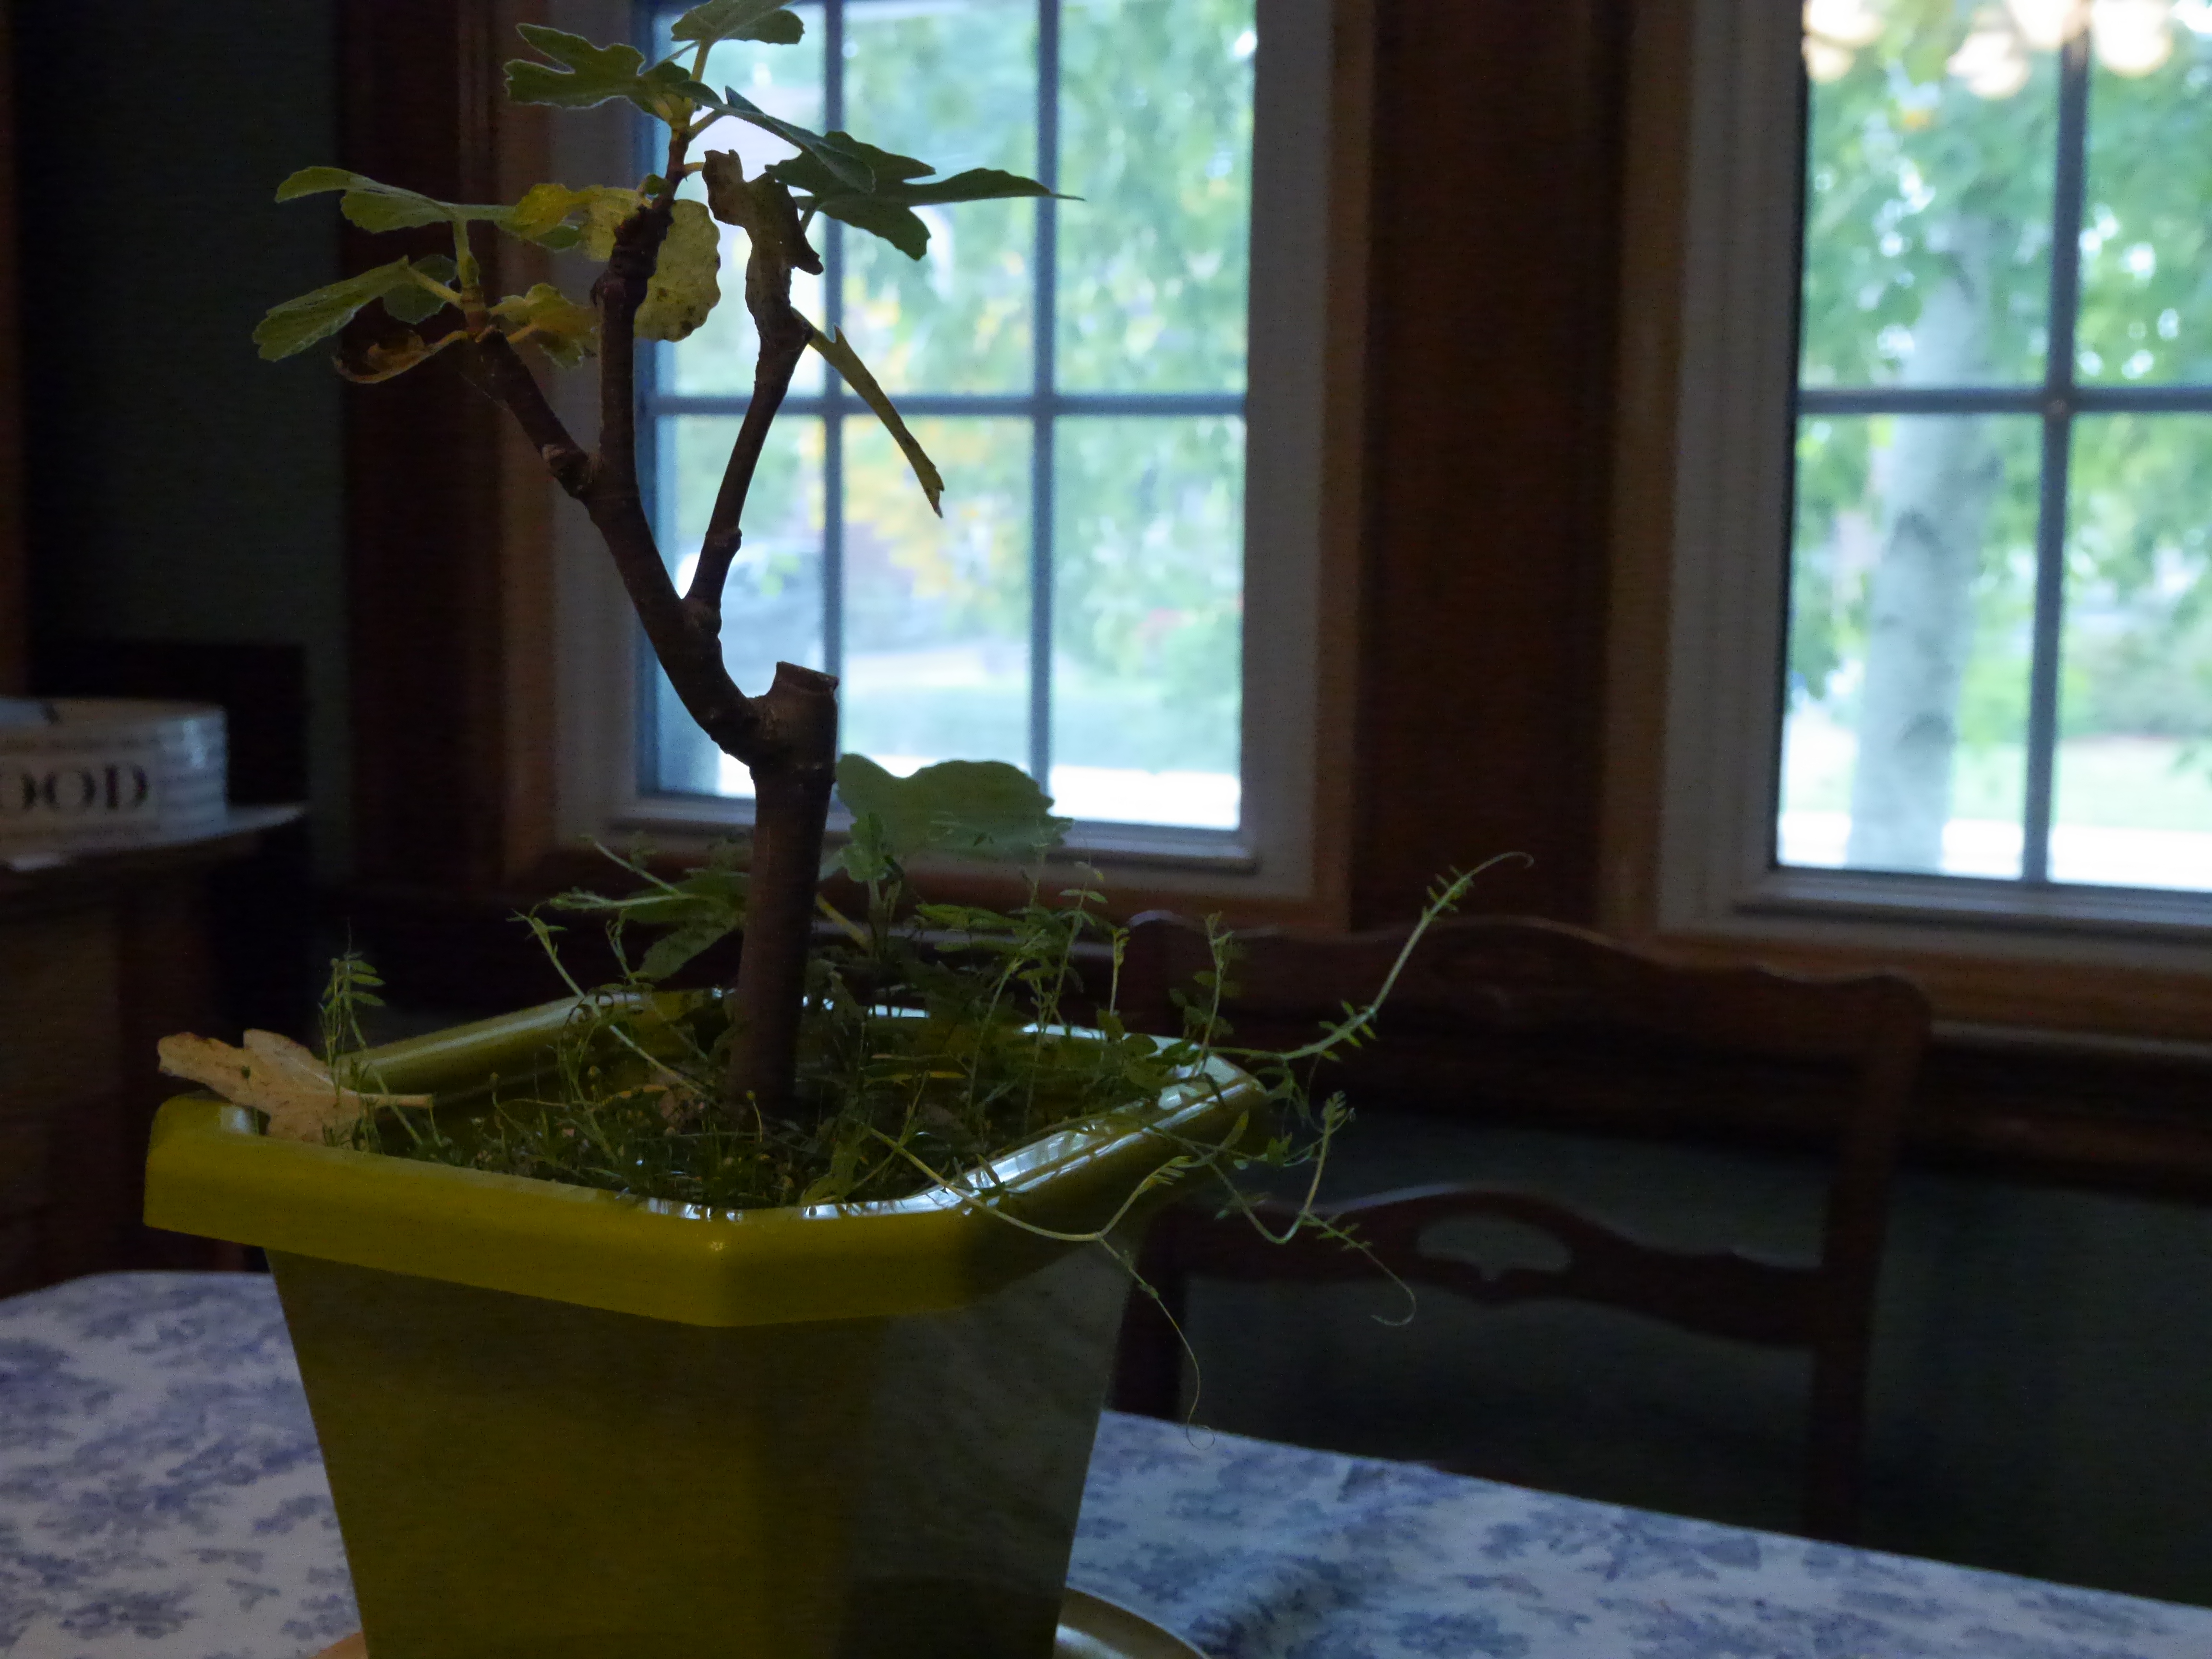
The photo has a blue tinge in it. This tells you that you need to white balance.
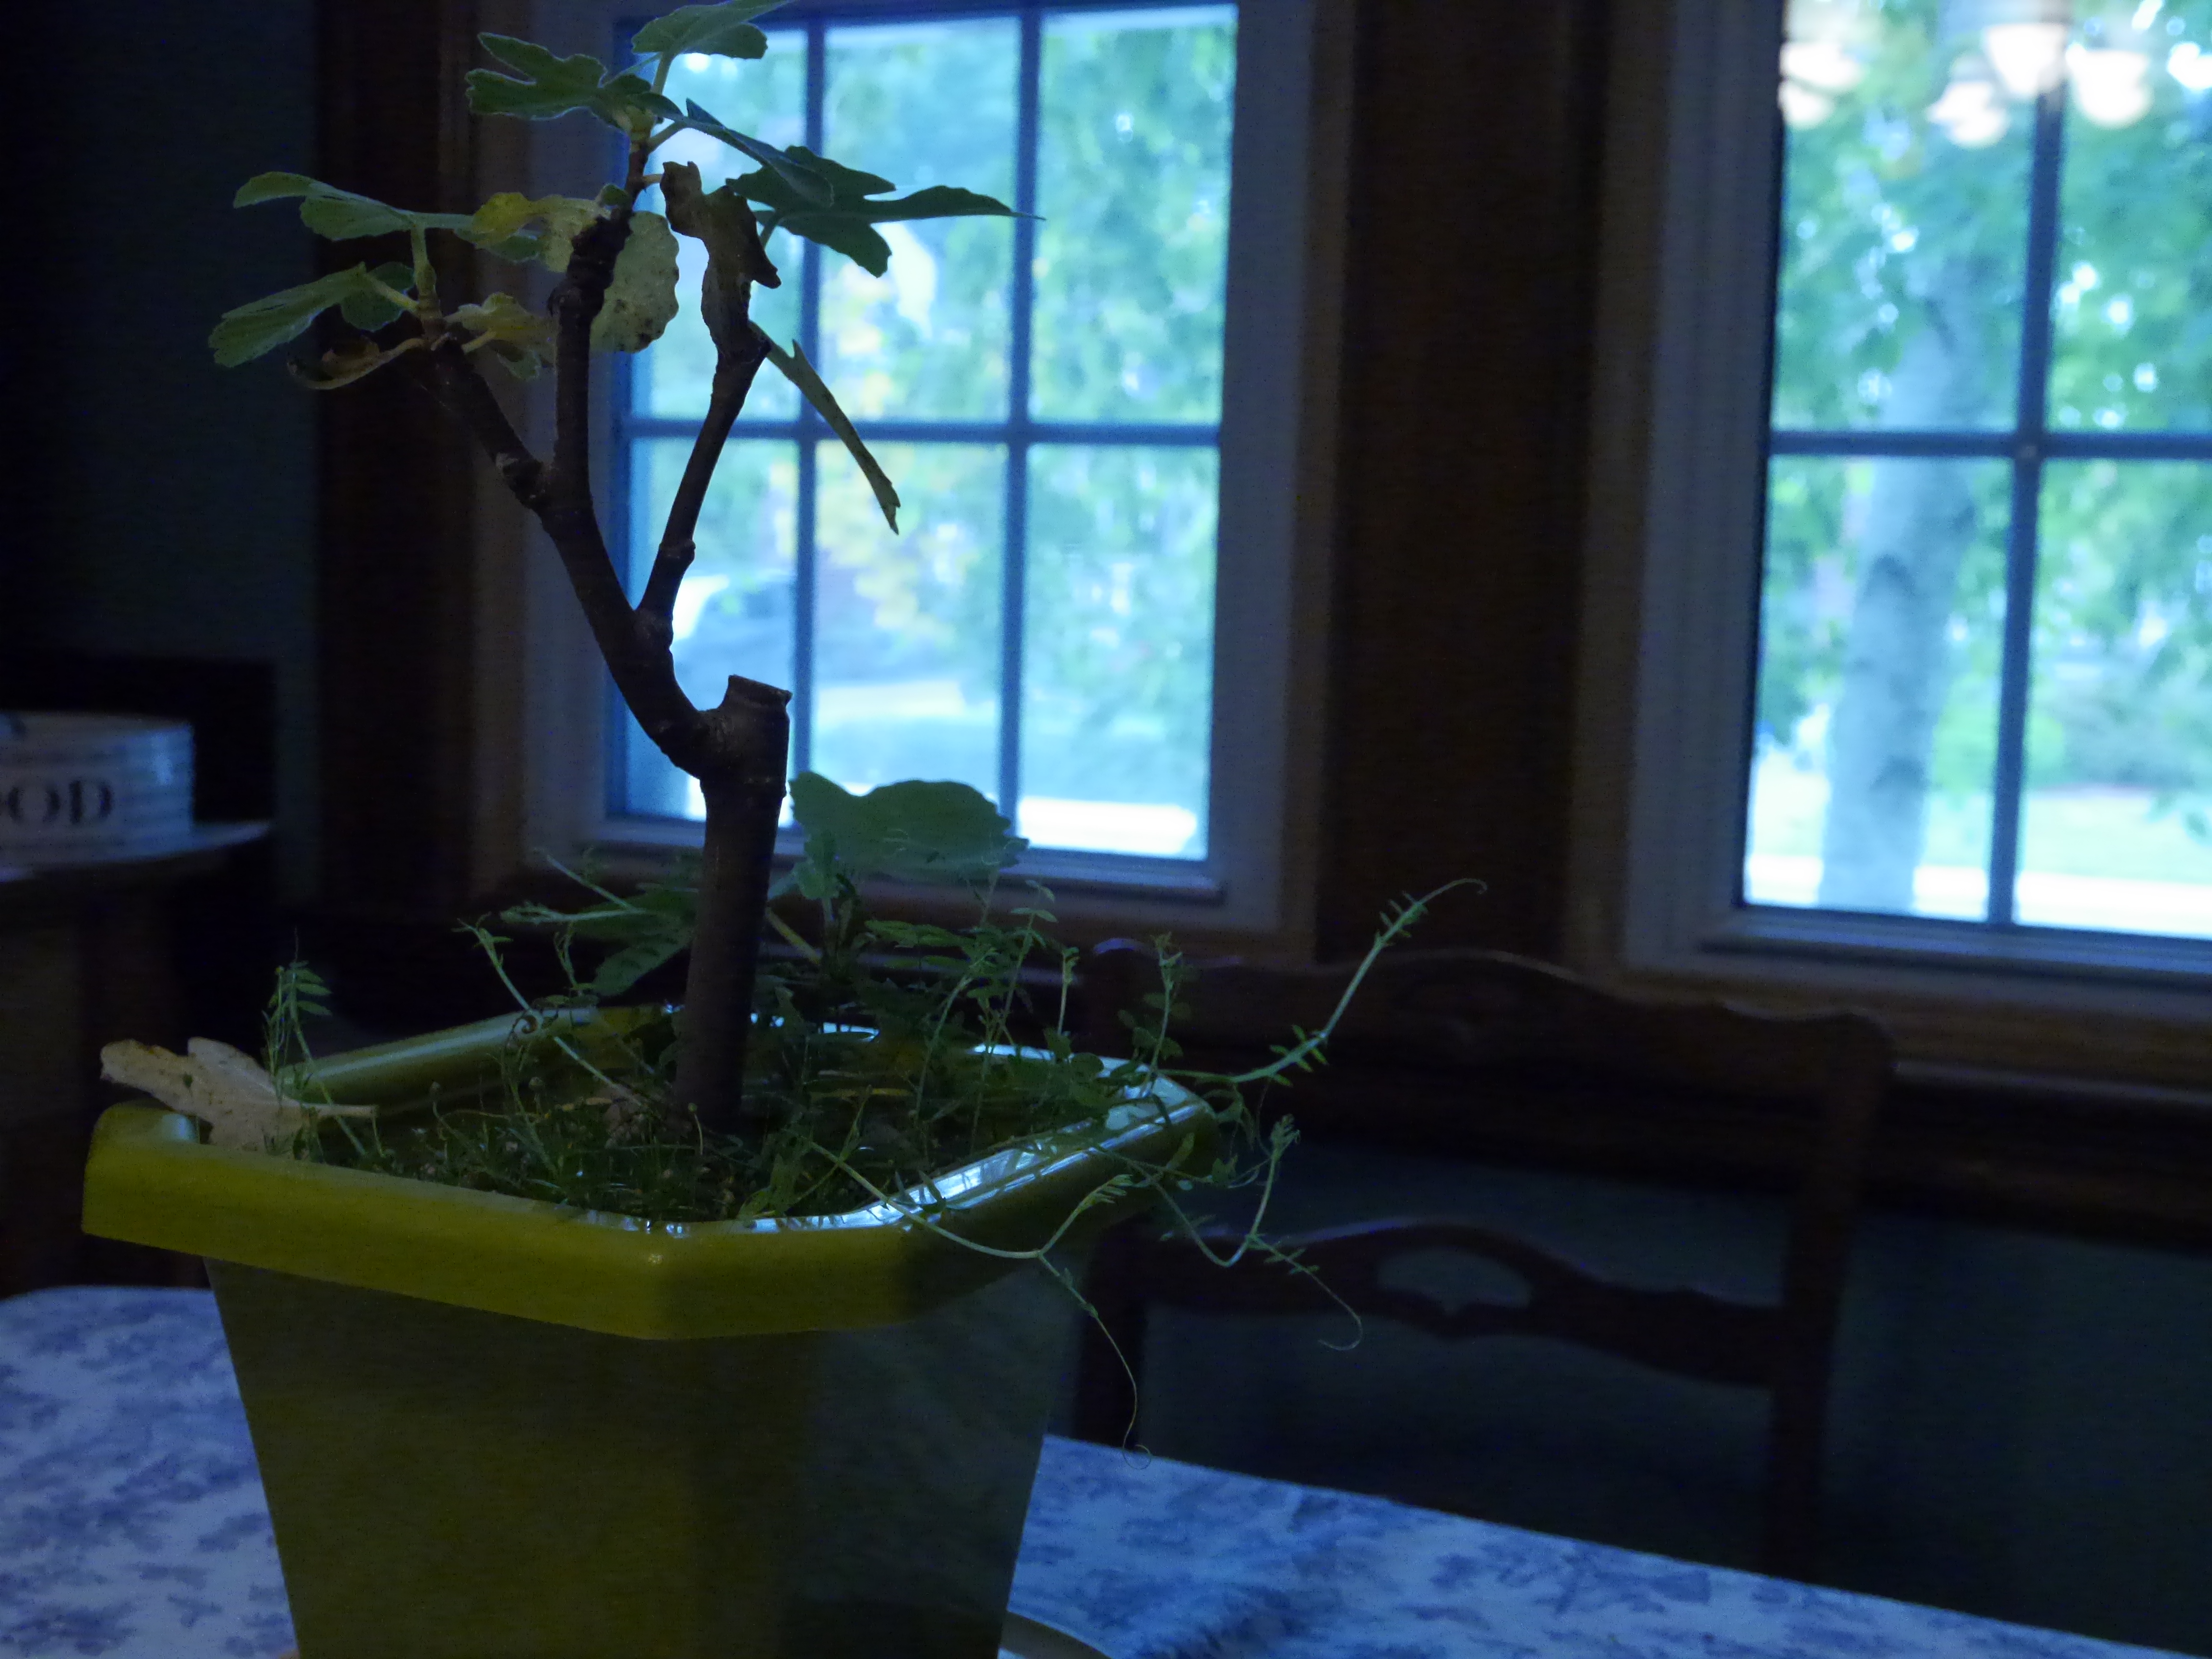
This is the closest you’ll get to a well white balanced photo. It might not seem 100% but the green is brighter in this photo and there’s no blue ting to the light coming in.
